
To remove the headlight assembly from a 2009 Nissan Murano, start by opening the hood and locating the headlight housing. Next, disconnect the electrical connector, remove the bolts, and pull the assembly out of the vehicle.
The process of taking out the headlight assembly from a 2009 Nissan Murano might seem daunting, but it’s a manageable task for those with basic automotive repair skills. This action is often necessary for bulb replacement, headlight cleaning, or upgrading to new lighting technology.
It’s essential to handle the headlight components with care to avoid damage and to ensure all connections are secure upon reassembly. A successful removal not only Improves vehicle maintenance but could also improve the Murano’s road illumination significantly, boosting driving safety at night or in poor visibility conditions.
Introduction To The 2009 Nissan Murano Headlight Assembly
Welcome to our detailed guide on the introduction to the 2009 Nissan Murano headlight assembly. This essential component not only illuminates the road ahead but also ensures your vehicle remains visually appealing. Today, we investigate into the facets that make the 2009 Murano’s headlights a key feature of this stylish SUV.
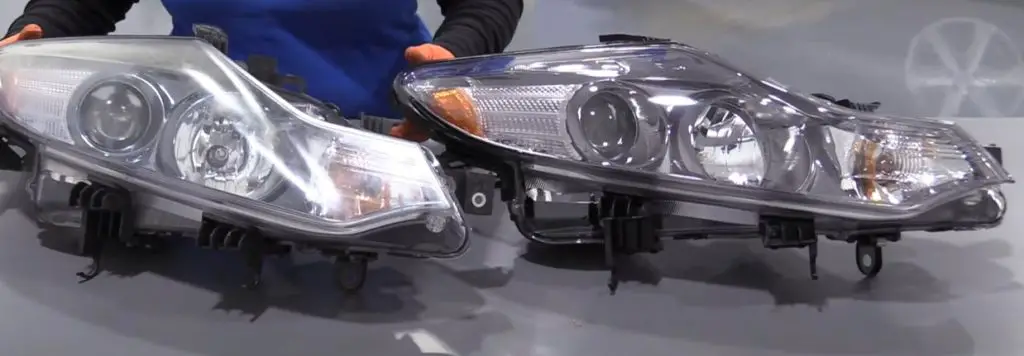
Overview Of The Car Model And Headlight Design

The 2009 Nissan Murano stands as a testament to its sophisticated design and functionality. Its headlight assembly is a perfect blend of aesthetics and innovation, providing a seamless integration with its sleek body. The headlights are more than a lighting feature; they define the Murano’s presence on the road.
- Its bold look complements its aerodynamic shape
- Quality lens materials allow for clear illumination
- Incorporates modern lighting technologies
Importance Of Headlight Maintenance And Repair
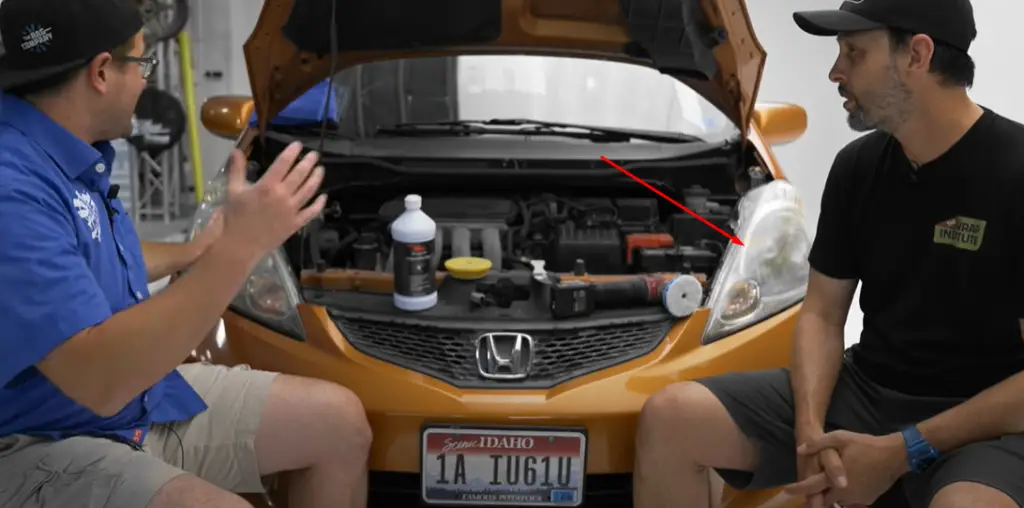
Maintaining your Murano’s headlights remains crucial for optimal performance. Clean and well-functioning headlights guarantee a safer driving experience, especially at night. Ignoring maintenance can result in dim lighting and potential hazards. Regular inspection and timely repair of the headlight assembly are necessary for peak car operation.
- Regular cleaning ensures maximum light output
- Timely replacement of bulbs avoids sudden failures
- Fixing cracks or damage prevents moisture intrusion
Safety And Legal Considerations For Headlight Functionality
Working headlights are not just about visibility—they’re also a legal requirement. The 2009 Nissan Murano must comply with safety standards set forth by law. Proper headlight function ensures other drivers see you and you see them, thus preventing accidents and ensuring safe roads for everyone.
| Safety Aspect | Legal Requirement |
|---|---|
| Bright and functional lights | Mandatory for night driving |
| Proper headlight alignment | Prevents blinding other drivers |
| Operational high and low beams | Required by law in many regions |
Preparation For Headlight Assembly Removal
Getting ready to remove your 2009 Nissan Murano’s headlight assembly requires attention to detail and the right tools. This guide walks through the essential preparation steps to safely and effectively remove the headlight assembly, ensuring a smooth process without any surprises.
Tools And Materials Required For The Job
- Screwdrivers: Both Phillips and flat-head
- Socket set: many sizes to fit headlight bolts
- Trim removal tool: To detach clips without damage
- Work gloves: To protect your hands
- Headlamp: For clear visibility
- Owner’s Manual: Vehicle-specific instructions
Making sure you have these tools ready guarantees a smooth headlight removal operation.
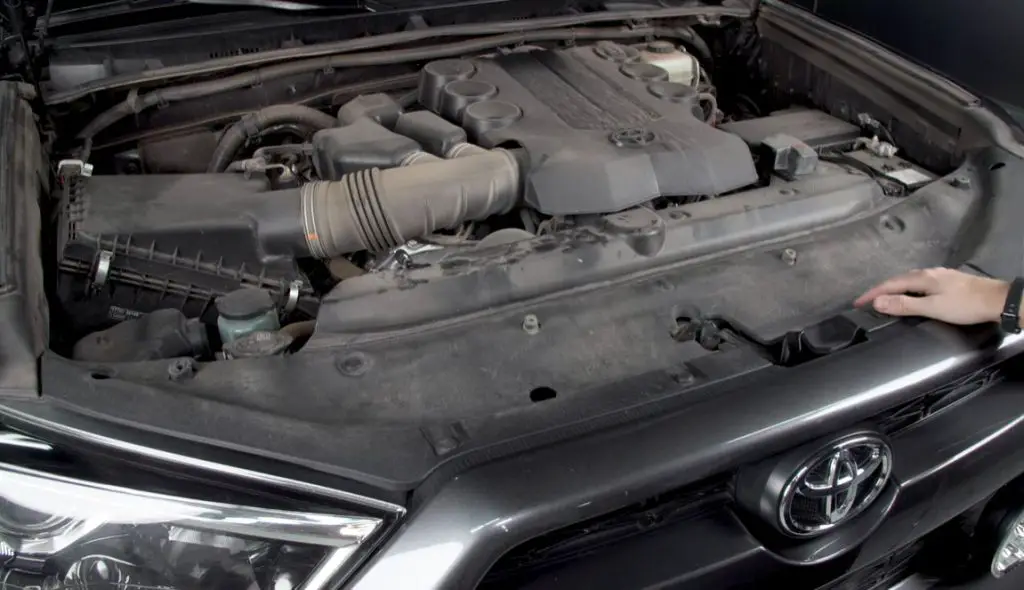
Initial Vehicle Setup And Pre-removal Checklist
- Park your vehicle on a flat surface and set the parking brake.
- Ensure the engine is off and the headlight switch is in the “Off” position.
- Open the hood to access the headlight assembly.
- Inspect the area: Look for any obstacles that might interfere with the removal process.
- Refer to the owner’s manual for any model-specific instructions.
Following these steps prepares your vehicle for a safe headlight assembly removal.
Disconnecting The Battery For Safety
- Locate the vehicle’s battery.
- Using a socket wrench, loosen the bolt holding the negative battery cable clamp.
- Detach the negative cable: Move it aside to prevent any electrical hazards.
Disconnecting the battery is a critical safety measure to avoid electrical shocks and damage.
Step-by-step Guide To Removing The Headlight Assembly
Need to replace or repair your 2009 Nissan Murano’s headlight assembly? It’s not as daunting as it seems! This guide walks you through every step of removing the headlight assembly with ease. Whether you’re a seasoned DIYer or a first-timer, you’ll find these instructions straightforward and manageable. Let’s get started and bring back the shine to your Nissan Murano!
Accessing And Removing Front Bumper Components
To reach the headlight assembly, we must first tackle the front bumper. Don’t worry; it’s simpler than it looks. Here’s what to do:
- Prepare your tools: Gather a screwdriver, a ratchet, and a set of sockets.
- Pop the hood: Give yourself access to the vehicle’s front.
- Detach the clips: Remove fasteners from the top of the bumper.
- Unscrew the screws: Find them along the wheel well edges.
- Remove the bottom fasteners: They’re under the bumper, securing it.
- Gently pull the bumper: Slide the bumper off its position.
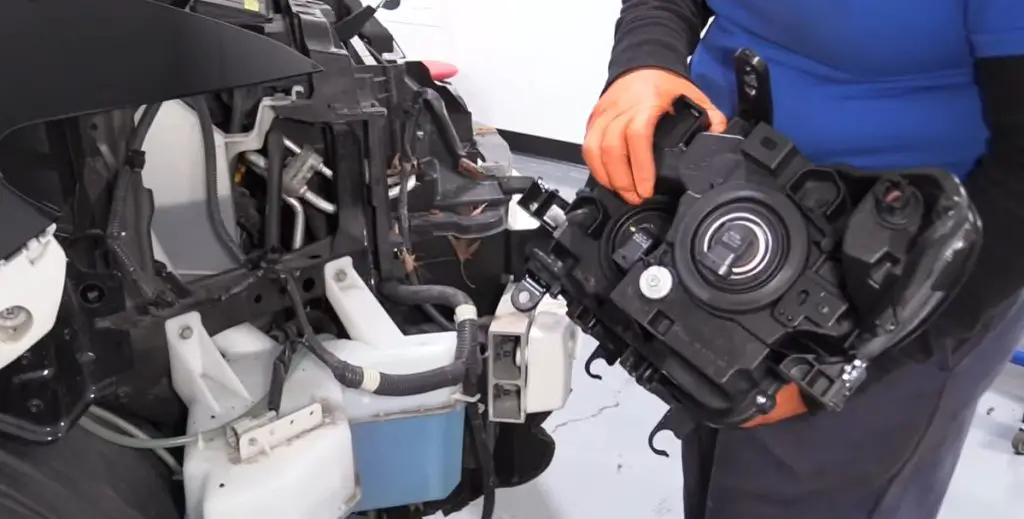
Detailed Procedure For Detaching The Headlight Assembly
With the bumper out of the way, you can now get down to the real task. Follow these steps:
- Locate the bolts: The headlight is held by bolts.
- Unbolt the headlight: A ratchet and socket will remove them.
- Free the assembly: Carefully pull the headlight from its seat.
- Keep it safe: Place the assembly on a soft surface to avoid scratches.
Handling Electrical Connectors And Bulbs
Now you’re at the final stage. Here’s how to handle the connectors and bulbs:
| Action | Details |
|---|---|
| Locate Connectors | They’re at the back of the assembly. |
| Disconnect Carefully | Press down the tab and pull back. |
| Handle Bulbs | Turn counterclockwise to remove. |
| Keep Safe | Place bulbs where they won’t get damaged. |
Note: Handle bulbs and connectors with a gentle touch. The bulbs can be fragile, and rough handling may cause damage. Congratulations! You’ve successfully removed your Nissan Murano’s headlight assembly.
Common Challenges And Troubleshooting
Removal of a 2009 Nissan Murano headlight assembly can be a tricky task. This section dives into the common challenges experienced during the process. By Comprehending these issues, car owners can effectively troubleshoot problems. Let’s Investigate some hands-on solutions to typical complications that might arise.
Dealing With Corroded Bolts And Clamps
Corrosion is a common issue with older vehicles like the 2009 Nissan Murano. Here are ways to handle this:
- Penetrating oil: Apply it to break down rust.
- Rust remover: Use it for stubborn bolts.
- Patience: Give the solution time to work.
Guiding Around Potential Obstacles
In the headlight removal process, obstacles may include:
- Bumper edges blocking access.
- Fragments from a broken headlight.
Work slowly to move or remove these obstructions.
Tips For Managing Wiring Harnesses And Avoiding Damage
Wiring harnesses are delicate. Follow these tips to avoid damage:
| Tip | Reason |
|---|---|
| Mark connectors | Ensures proper reconnection |
| Use the right tools | Prevents accidental cuts |
| Handle with care | Reduces risk of dislodging wires |
Reinstallation And Post-removal Considerations
Initiating the reinstatement of your Nissan Murano’s headlight assembly is a crucial step following removal. The process requires attention to detail to confirm proper alignment, functionality, and overall vehicle safety. The following sub-sections will guide you through the intricacies of headlight assembly reinstallation, alignment checks, and the essential final testing.
Guidance For Properly Reinstalling The Headlight Assembly
To ensure a seamless reinstallation, begin with these steps:
- Align the headlight bracket with the mounting area.
- Securely fasten all screws and bolts.
- Connect the electrical harness to the new headlight assembly.
Double-check for any loose components before proceeding.
Ensuring Alignment And Functionality Of New Headlights
Proper alignment ensures both safety and legal compliance.
- Position the Murano on level ground facing a wall.
- Turn on the headlights and mark the light beam centers on the wall.
- Adjust the beams using the headlight’s adjustment screws.
Test all light functions including low and high beams, and indicators.
Final Checks And Vehicle Testing Post-assembly
Conduct a series of final checks to validate the installation:
- Examine any gaps between the headlight assembly and the vehicle body.
- Ensure there’s no condensation within the headlight lens.
- Perform a road test during nighttime conditions to assess headlight performance.
Maintain a documented record of the maintenance for future reference.
Frequently Asked Questions On 2009 Nissan Murano Headlight Assembly Removal
How Do You Remove A Whole Headlight Assembly?
Open the vehicle’s hood and locate the headlight assembly. Unscrew any visible bolts securing the assembly. Disconnect the wiring harnesses linked to the headlight. Gently pull the entire headlight assembly away from the car.
Removing the entire headlight assembly from a 2009 Nissan Murano requires a methodical approach and specific tools. Changing headlight assemblies isn’t necessarily challenging, but it demands the right technique and tools. Precisely disconnecting the headlight from the car is crucial to prevent any damage. Having the necessary tools, like wrenches and screwdrivers, is essential for this process, especially during bumper cover removal, which grants access to detach the headlight assembly.
Carefully removing the bulbs comes before the actual headlamp assembly removal, necessitating a delicate touch to avoid any breakage. The reverse process, reinstalling the headlamp assembly, follows similar steps to ensure a secure reattachment. Seeking professional car headlight replacement services or using specialized headlight lens removal tools can simplify this procedure for those uncomfortable with DIY repairs. Following a step-by-step guide and having the proper tools can make this task less daunting for headlight assembly replacement.
What Tools Do I Need To Remove A Headlight Assembly?
To remove a headlight assembly, you’ll need a screwdriver set, a ratchet with many sockets, and possibly a trim removal tool for clips or fasteners.
Do I Have To Replace The Whole Headlight Assembly?
No, replacing the entire headlight assembly isn’t always necessary; it depends on the issue. For example, you might just need to change a burnt-out bulb or repair a cracked lens. Assess the damage to determine the correct fix.
Is Replacing Headlight Assembly Hard?
Replacing a headlight assembly can vary in difficulty depending on the vehicle model. Some cars require basic tools and steps, making it a manageable task for many do-it-yourselfers. It’s advisable to review your car’s manual or a reliable guide specific to your model for precise instructions.
Conclusion
Removing the headlight assembly from your 2009 Nissan Murano doesn’t have to be daunting. With the right tools and patience, you’re now equipped to tackle the job confidently. Remember, safety is paramount, so always disconnect the battery first. Your efforts will shine bright, just like your newly serviced headlights.
Safe driving!


