To install a Headlight Experts LED Conversion Kit, first ensure your vehicle is off and the headlights are cool. Then, remove the old bulbs and replace them with the new LED bulbs from the kit.
Upgrading your car’s lighting with a Headlight Experts LED Conversion Kit can significantly improve visibility and give your vehicle a modern aesthetic. The process is generally straightforward, requiring only basic hand tools and some attention to detail. Safety needs to have clear and efficient headlights, which makes an LED upgrade worth considering.
LED headlights provide a brighter, more focused light than traditional bulbs and last longer. Such an upgrade not only enhances your nighttime driving experience but also contributes to road safety.
By following the simple instructions included with your kit, you can achieve a new level of clarity on the road, often with a plug-and-play installation that does not require any wiring modifications. Let’s explain “How to Install Headlight Experts Led Conversion Kit?”

Introduction To Led Headlight Conversion
Are your car’s headlights dim or outdated? It may be time for an upgrade! Switching to LED headlights through a conversion kit can be a game-changer. Not only do you get brighter illumination, but you also enjoy increased longevity and efficiency on the road. The process is straightforward, but there are a few key points you’ll need to understand before diving in.
The Benefits Of Upgrading To Led Headlights
You might wonder why make the switch to LED. The fresh, modern LED technology offers compelling advantages:
- Better visibility: LEDs shine brighter, providing greater road clarity.
- Longer lifespan: These lights outlast traditional bulbs, meaning fewer replacements.
- Energy efficiency: They draw less power from your car’s electrical system.
- Durable design: With fewer moving parts, they are less prone to damage.
- Easy installation: Many kits are designed for quick and hassle-free installation.
Comprehension Headlight Experts-Led Conversion Kits
Headlight Experts kits are designed to make your upgrade to LED seamless. Each kit includes:
| Component | Description |
|---|---|
| LED Bulbs | Top-tier bulbs that offer brilliant light quality. |
| Ballasts | Small devices that regulate the power to the LEDs. |
| Wiring Harness | Custom cables that fit your vehicle’s connectors. |
| Mounting Hardware | All necessary brackets and fittings. |
| Instructions | Clear, step-by-step guide for installation. |
Choose the right kit for your vehicle to ensure compatibility and streamline the installation process. These components work in concert to revitalize your car’s lighting system with stunning LED capabilities.
Pre-installation Checklist
Preparing to upgrade your vehicle’s lighting with a Headlight Experts LED Conversion Kit is an exciting endeavor! Before diving into installation, confirm you have everything ready for a smooth and successful upgrade. This checklist ensures your experience is hassle-free.
Tools And Materials Needed For Installation
Gather these tools and materials before starting:
- Headlight Experts LED Conversion Kit
- Screwdrivers – Phillips and flathead
- Pliers – needle-nose can be very helpful
- Protective Gloves – to prevent hand injuries
- Clean Cloth – for handling LEDs
- Wire Ties – to organize wiring
- Alcohol Wipes – to clean headlight housing
- Headlamp – for clear vision in dim areas
Arrange these items within reach to streamline the process.
Safety Precautions Before Starting
Prioritize safety with these simple steps:
- Engine Off: Work with the engine cooled and off.
- Car Battery: Disconnect the negative terminal.
- Work Area: Ensure sufficient light and space.
- Protective Gear: Wear safety glasses and gloves.
- Follow Instructions: Read the kit’s manual thoroughly.
Adhere to these precautions to avoid any potential hazards.
Confirming Compatibility With Your Vehicle
Before installation, ensure your new kit fits:
- Vehicle Manual: Confirm headlight model specifics.
- Kit Specifications: Check the LED kit matches these.
- Headlight Housing: Verify space for the conversion kit.
| Vehicle Model | Headlight Type | Conversion Kit Model |
|---|---|---|
| Your Vehicle | Original Headlight Specs | Kit You Chose |
Match these aspects to secure a compatible and ideal fit.
Removing The Old Headlights
Embarking on upgrading your vehicle with an LED conversion kit starts with removing the old headlights. This essential step requires care and precision. Proper removal ensures a smooth installation of your new Headlight Experts LED Conversion Kit. Let’s delve into the process and tackle any potential snags along the way.
Step-by-step Guide To Removing Factory Headlights
- Locate the hood release latch inside your car and open the hood.
- Secure the hood using the built-in support rod to prevent it from closing.
- Find the headlight assemblies. They are typically behind the grille or bumper.
- Remove any parts obstructing access. This might include grille and bumper sections.
- Disconnect the power connector from the back of the headlight. Press the clip to release it.
- Unscrew the mounting bolts. Use the proper tool, like a socket wrench.
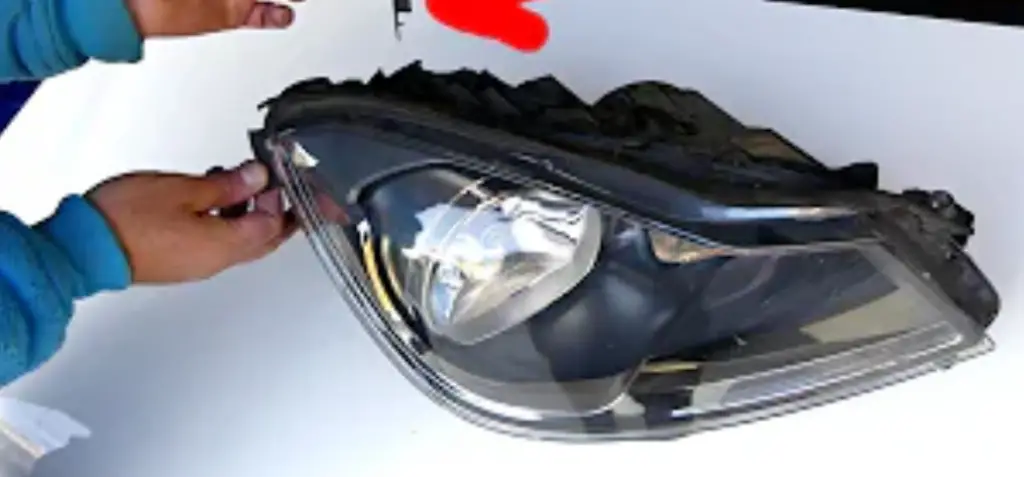
- Gently pull the headlight assembly away from the vehicle.
- Place the old headlight in a secure area to avoid damage.
Troubleshooting Common Issues During Removal
- If a bolt won’t budge, apply a penetrating lubricant. Wait a few minutes, then try again.
- Stuck connectors can be eased with a bit of wiggling. Don’t yank them forcefully.
- For hidden or hard-to-reach bolts, refer to your car’s manual or look up a guide online.
- Take photos before removing parts. This helps with reassembly.
- If the headlight doesn’t come loose, check for additional clips or fasteners.
Following these careful steps, you’ll have your factory headlights out in no time. The path is then clear for your fresh, bright LED upgrade. Remember, moving methodically avoids damage and prepares for a successful installation of your Headlight Experts LED Conversion Kit.
Preparing The Headlight Experts Led Kit
Embarking on a DIY car modification journey begins with a solid prep routine. Get your Headlight Experts LED Conversion Kit ready for a smooth installation. This guide walks you through the initial steps to ensure your headlights will shine bright and right.
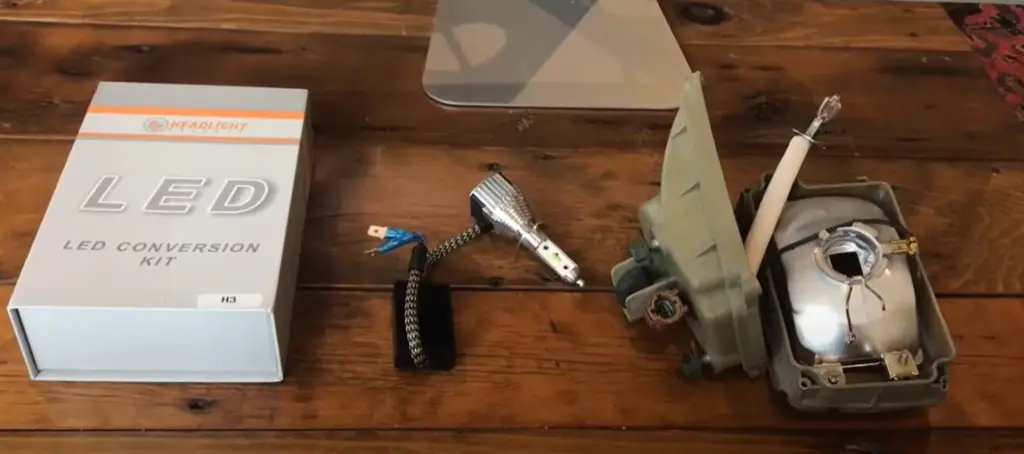
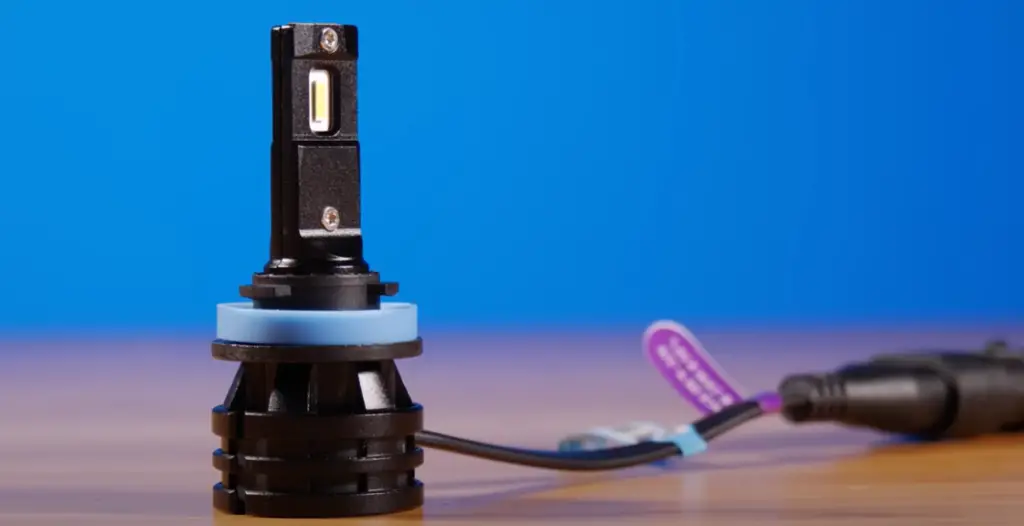
Unboxing And Inspecting Your Led Kit Components
Begin by gently opening the box to reveal the LED kit treasures inside. Here’s what to check for:
- LED Bulbs: Look for any signs of damage.
- Ballasts and Drivers: Ensure they’re included and intact.
- Wiring Harness: Verify it’s complete with no loose wires.
- Instruction Manual: Read it carefully for helpful tips.
AwarenessThe Parts: Bulbs, Ballasts, And Drivers
Let’s break down the kit components:
| Component | Function | Checklist |
|---|---|---|
| Bulbs | Provide the light |
|
| Ballasts | Regulate power |
|
| Drivers | Control brightness |
|
Identify the parts and understand their roles. Double-check each item for optimal function before installation.
Headlight Housing And Attachment
Before diving into the installation of your new Headlight Experts LED Conversion Kit, it’s essential to correctly prep and secure your headlight housing. Proper installation ensures longevity and peak performance of your LEDs, transforming your nighttime driving experience. Here’s how to prepare the housing and secure the bulbs in place.
Prepping The Headlight Housing For Led Installation
- Turn off your vehicle and ensure the headlights are cool to touch.
- Open the hood to access the headlight housing.
- Remove any covers or dust caps from the back of the housing.
- Use a clean cloth to wipe down the interior of the housing, eliminating any debris.
- Locate the stock bulb and disconnect the power connector.
- Twist the halogen bulb counterclockwise to remove it from the housing.
- Examine the housing to ensure no damage that could affect the new LED bulb.
Securing The Led Bulbs In Place
- Gently take the LED bulb by its base and avoid touching the LED chip.
- Align the bulb with the headlight socket and insert it carefully.
- Twist the bulb clockwise to secure the LED in the housing.
- Plug in the LED power connector to the vehicle’s power outlet.
- For some models, attach the driver and CAN bus if necessary.
- Ensure a snug fit without forcing any components.
- Replace any covers or dust caps, making sure everything is tightly sealed.
- Turn on your vehicle to test the LED headlight.
- Adjust the beam pattern to avoid blinding oncoming traffic.
Fitting LED bulbs properly ensures they shine bright, last long, and keep you safe on the road. Take your time with each step.
Electrical Connections And Wiring
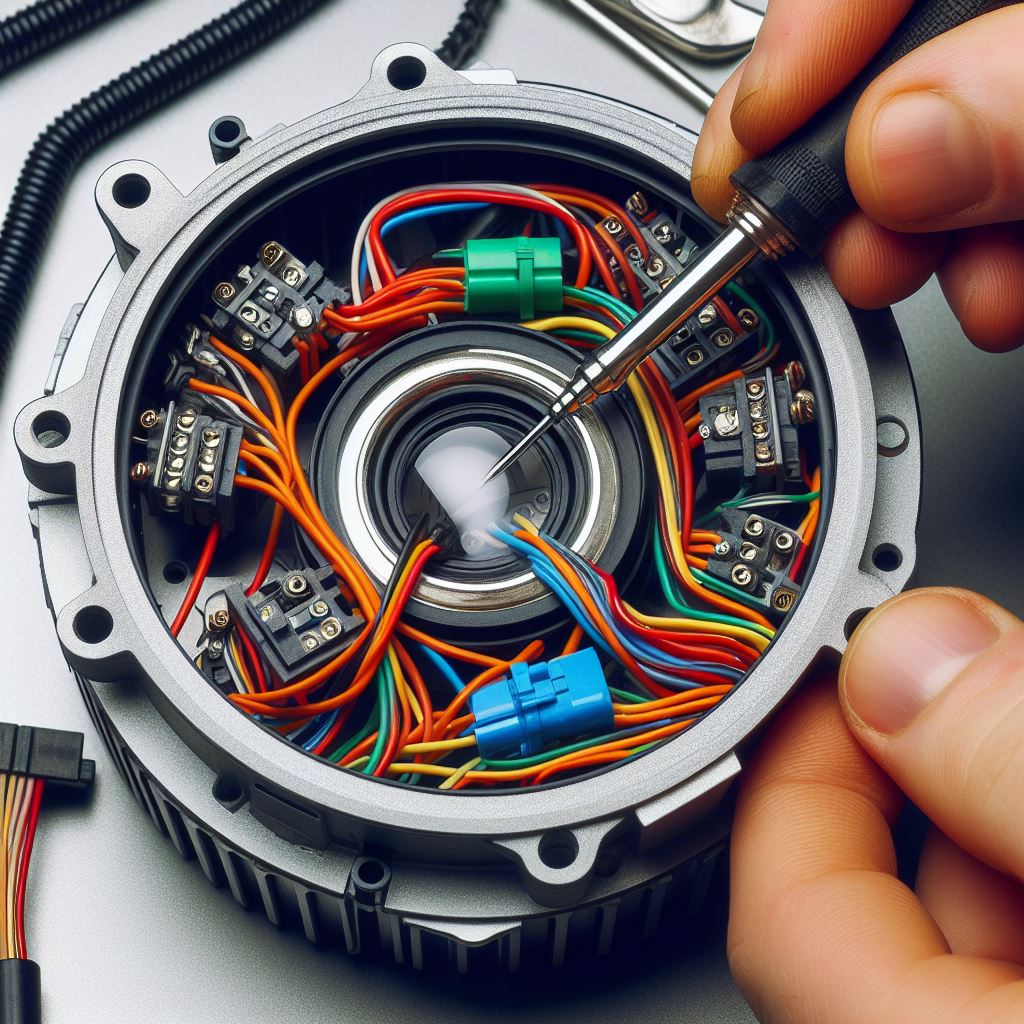
Now we’re ready to dive into the heart of your LED transformation, electrical connections, and wiring. Proper installation ensures your new lights work perfectly. Keep in mind, that neat wiring is not just attractive but fundamental for safety and function. Let’s connect those LEDs and organize wiring like a pro.
Connecting The LED bulbs To The Power Supply
Before you start, make sure your vehicle’s power is off. Safety is key! Follow these steps:
- Identify the LED Bulb Connectors: Find the connectors on your LED bulbs.
- Locate the Power Supply: Find your vehicle’s headlight power wires.
- Join the Connectors: Match the LED connectors with the vehicle’s plugs.
Ensure each connector clicks securely. A firm connection means power flows without interruption. Double-check for loose fittings before proceeding.
Routing And Securing The Wiring For Safety And Aesthetics
Routing wires neatly avoids damage and preserves your car’s look.
- Avoid Heat Areas: Keep wires from high-heat parts like the engine.
- Use Cable Ties: Secure wiring along fixed components.
- Follow Existing Routes: Align with factory wire paths for a clean layout.
Inspect the routes. Ensure wires do not interfere with moving parts. Make adjustments if needed. Neatly secured wires mean a safer and sleeker headlight setup.
Ensuring Proper Beam Alignment
Proper beam alignment is critical after installing a new LED conversion kit. Ensuring that your headlights illuminate the road correctly enhances visibility and safety. Correct installation prevents blinding oncoming traffic and complies with road regulations. Let’s delve into adjusting LED bulbs for the ideal light distribution.
Adjusting The Led Bulbs For Optimal Light Distribution
Begin by positioning your vehicle on a level surface, facing a flat wall. Keep it approximately 25 feet from the wall. Turn on your headlight experts LED conversion kit. Observe the beam pattern. The goal is to have a clear cutoff and uniform light distribution. Use the alignment tools provided, making minor adjustments to achieve this.
- Locate adjustment screws or knobs on the headlight assembly.
- Rotate slowly to move the beam horizontally or vertically.
- Align the beams so that the brightest spot is slightly below and to the right of the centerline for each headlight.
Testing And Fine-tuning Beam Alignment
Once you’ve made initial adjustments, it’s time to test. Drive during nighttime to check the beam pattern on the road. Ensure uniformity and that the light path is correct. If further adjustment is needed, repeat the process. Patience is key to achieving perfect alignment.
- Mark your initial beam alignment on the wall with tape.
- Check for on-road performance, taking note of light spread and reach.
- Make incremental changes if required and test again.
- Confirm with a second person to ensure accurate visibility.
Always remember that perfect headlight alignment is not just about visibility. It’s also about safety for all road users. Take your time, and get it right.
Cooling And Ventilation
Let’s turn the spotlight on a vital aspect of installing the Headlight Experts LED Conversion Kit: Cooling and Ventilation. LED headlights generate heat, much like traditional bulbs. But unlike their older cousins, managing this heat is key to their performance and lifespan. Below, we dive into how to keep your new LEDs cool and happy for the long run.
Installation Of Heat Sinks Or Cooling Fans
Keeping LEDs cool rests on effectively transferring heat away from the bulbs. The Headlight Experts kit comes with heat sinks or cooling fans designed to do just that. Follow these steps to ensure they’re installed correctly:
- Identify the heat sinks or fans included with your kit.
- Securely attach the heat sinks to the back of the LED bulbs.
- If fans are provided, connect them to the bulb’s power cable before mounting the bulb.
- Test the fans for functionality by powering on the headlights.
Ensuring Proper Ventilation For Longevity
Your LED headlights need breathing room to ensure optimal performance and durability. Ensure proper ventilation with these tips:
- Inspect the headlight housing for adequate space behind the bulb.
- Clear any obstructions that might impede airflow around the heat sinks or fans.
- If using fans, verify that the air can circulate freely without restriction.
- Check for dust and debris regularly and clean the ventilation area.
| Step | Action | Check |
|---|---|---|
| 1 | Attach the heat sinks/fans | Secured and powered |
| 2 | Space behind the bulb | Adequate and clear |
| 3 | Airflow for fans | Unrestricted |
| 4 | Regular maintenance | Clean and dust-free |
Paying attention to these details will ensure your LEDs stay cool and work well for years. Always refer to the manufacturer’s guide for specific instructions on your Headlight Experts LED Conversion Kit.
Reassembling The Headlight Components

With your new LED conversion kit glowing brightly, it’s time to put everything back in place. Carefully reassembling your headlight components is essential to ensure that your new lights function correctly and safely.
Putting The Headlight Assembly Back Together
Follow these steps to get your headlight components back into their original configuration:
- Start by placing the LED bulb into the headlight housing. Make sure it’s secure.
- Align the assembly with the mounting points on your vehicle.
- Thread any wires or connectors through the housing.
- Reattach any clips or screws that were removed during the disassembly.
- Gently press the assembly into place, ensuring it’s flush with the vehicle body.
- Tighten all the screws to secure the headlight.
Double-checking All Connections And Mountings
Before you finalize the installation, take a moment to:
- Review each connection. Ensure all cables are plugged in properly.
- Inspect the mountings. Confirm that the headlight is mounted solidly.
- Check for any loose parts. Tighten any components that require it.
- Test the LED lights. Turn on your vehicle’s ignition and switch on the headlights.
- Look for even lighting. Both headlights should emit a consistent light pattern.
- Adjust if necessary. If the light beam is uneven, refer to the manual for adjustment instructions.
Testing The Led Conversion
Upgrading to high-performance LED headlights is exciting. Testing the LED conversion is crucial for a successful installation. Headlight Experts LEDs ensure bright, clear road views. Safety and satisfaction depend on proper testing. This guide simplifies the process. Follow these steps to enjoy your new lights:
Initial Test For Functionality
Before securing everything in place, always run an initial test. This confirms that the LED kit works. To start, connect your LED bulbs to the vehicle’s power supply. Make sure all connections match the vehicle’s socket. Turn your ignition to the “on” position. Now, flip the headlight switch. Both LEDs should illuminate. No light means checking connections.
Addressing Flickering Or Error Messages
Flickering lights or dashboard errors are solvable. They usually mean your car needs a Canbus adapter. These adapters prevent miscommunication between LEDs and the vehicle’s computer. Don’t worry if you see flickers or warnings. Simply install the provided Canbus adaptors between the LED driver and vehicle socket. Turn on the headlights again. Your lights should now be stable and error-free.
Surveying both headlights for proper function marks the end of a successful test. Celebrate! You’ve just improved your vehicle’s lighting with the Headlight Experts LED Conversion Kit.
Post-installation Tips And Maintenance
Congratulations on installing your new Headlight Experts LED Conversion Kit! Keep your ride shining bright with our post-installation tips and maintenance guide. Proper care will ensure your LED headlights perform at their best for years to come. Let’s dive into how to maintain your lights and troubleshoot any issues that might arise after installation.
Maintaining Your New Led Headlights
- Regularly check the headlights for any signs of damage or wear.
- Clean the lenses with a microfiber cloth and appropriate cleaning solution.
- Ensure all connections are secure to avoid flickering or power loss.
- Avoid touching the LED chips directly with your fingers to prevent damage from oils.
- Periodically inspect the headlight alignment to ensure proper road illumination.
Troubleshooting Common Post-installation Issues
| Issue | Solution |
|---|---|
| LED Flickers | Check connections and ensure the CAN-bus adapters are properly installed. |
| Dim Lighting | Verify that the LED chips are not obstructed and clean the lenses. |
| One Light Out | Examine the faulty unit for loose wires or re-seat the bulb. |
| Error Messages | Install the required resistor kit or check the vehicle’s manual for reset procedures. |
| Uneven Brightness | Adjust the bulb position for optimal beam pattern and brightness. |
Frequently Asked Questions For How To Install Headlight Experts Led Conversion Kit
Are Led Conversion Kits Hard To Install?
LED conversion kits are typically user-friendly and come with instructions, making installation straightforward for most vehicle owners. Advanced auto knowledge isn’t required, but compatibility with your car’s model is vital.
How To Convert Regular Headlights To Led?
Purchase LED conversion kits compatible with your vehicle model. Disconnect the car battery, remove the halogen headlight bulbs, and plug in the new LED bulbs. Secure LED ballasts if included, reassemble the headlight housing, and reconnect the battery to complete the installation.
Do I Need A Conversion Kit For LED Headlights?
Yes, a conversion kit is usually necessary to upgrade to LED headlights from halogen, ensuring proper fitting and compatibility with your vehicle’s electrical system.
What Is The Proper Way To Install LED headlights?
Ensure your car is compatible with LED headlights before purchasing. Always disconnect the vehicle’s battery during installation. Remove existing halogen bulbs and replace them with their LED counterparts. Secure LED drivers and ensure proper headlight alignment to avoid blinding other drivers.
Test the lights post-installation.
Conclusion
Upgrading to Headlight Experts LED Conversion Kits is a game-changer for night-time driving, enhancing visibility and road safety. This DIY project transforms your ride’s performance with brilliant lighting. For support, seek professionals or manufacturer resources. Drive confidently into the night with your new, radiant headlights shining the way.
