
To change a headlight, open the hood and locate the headlight assembly. Remove the old bulb and insert the new one.
Changing a headlight is a simple task that can save you time and money. Instead of visiting a mechanic, you can do it yourself with a few basic tools. Headlights are crucial for safe driving, especially at night or in poor weather conditions.
Knowing how to replace them ensures that you maintain visibility on the road. Always keep a spare bulb in your vehicle for emergencies. With a little effort, you can quickly restore your car’s lighting system to optimal performance. Follow this guide to change your headlight efficiently and effectively.
Credit: www.caranddriver.com
Tools And Materials
Changing a headlight might seem daunting, but it’s quite simple. Having the right tools and materials makes the job easier and quicker. This section will guide you through the essential tools and required materials for a headlight change.
Essential Tools
Having the right tools ensures a smooth headlight replacement. Here are the essential tools:
- Screwdriver Set: Most headlights are secured with screws. A set of flathead and Phillips screwdrivers is necessary.
- Socket Wrench: Some vehicles have bolts that require a socket wrench. It helps in loosening these bolts.
- Gloves: Wearing gloves protects your hands and keeps the bulb clean. Oils from your skin can damage the bulb.
- Torch or Flashlight: A torch helps you see in tight, dark spaces around the headlight area.
Required Materials
Gathering the right materials ensures you won’t need to stop midway. Here’s what you need:
- Replacement Bulb: Ensure you have the correct bulb type for your vehicle. Check your vehicle’s manual or consult with a professional.
- Owner’s Manual: The manual provides specific instructions and diagrams for your vehicle. It helps identify the headlight assembly and its components.
- Cleaning Cloth: Use a clean, lint-free cloth to handle the new bulb. This prevents contamination from oils and dirt.
Safety Precautions
Changing a headlight is a simple task. Still, it requires some safety precautions. Ensuring your safety is crucial before starting the process.
Turn Off The Engine
Always turn off the engine before starting. This step prevents any accidental movements of the car. It also keeps you safe from hot engine parts. Make sure the keys are out of the ignition.
Wear Protective Gear
Protective gear is essential for your safety. Wear gloves to protect your hands from sharp edges. Use safety glasses to protect your eyes from debris.
Here is a list of protective gear you should use:
- Gloves
- Safety glasses
- Long-sleeved shirt
Follow these safety precautions to ensure a safe headlight change. Remember, safety always comes first.
Accessing The Headlight
Changing a headlight might seem hard, but it’s easy. The first step is accessing the headlight. This involves a few simple tasks. Follow these steps to get started.
Open The Hood
To begin, you need to open the hood of your car. Follow these steps:
- Locate the hood release lever inside your car. It’s usually near the driver’s seat.
- Pull the lever to release the hood latch.
- Go to the front of your car and find the hood latch. It’s often in the center of the hood’s front edge.
- Press or lift the latch to fully release the hood.
- Lift the hood and secure it with the prop rod.
Locate The Headlight Assembly
Once the hood is open, find the headlight assembly. Here’s how:
- Stand in front of your car and look inside the engine bay.
- Find the back of the headlight assembly. It’s behind the headlight lens.
- Check your car’s manual if you’re unsure.
Accessing the headlight is the first step in changing it. Follow these instructions to make the process easy and quick.
Removing The Old Bulb
Changing a headlight might seem hard, but it is simple. This section will guide you through removing the old bulb. Follow each step carefully to ensure a smooth process.
Disconnect The Power
First, turn off your car’s engine. Open the hood and locate the headlight assembly. Find the power connector at the back of the headlight. This connector supplies power to the bulb.
Gently press the tab on the connector. Pull it away from the bulb. This step ensures no power reaches the bulb while you work. Always be careful to avoid damaging the connector.
Remove The Bulb
Next, locate the headlight bulb housing. It is usually held by a clip or a cap. Consult your car’s manual for specific details.
- Twist the bulb housing counterclockwise to loosen it.
- Gently pull the bulb out of the housing.
- Handle the bulb carefully to avoid breaking it.
Place the old bulb on a clean surface. Do not touch the new bulb with your fingers. This can damage the bulb and affect its performance.
Now, you are ready to install the new bulb. Follow the next steps in the guide to complete the process.
Installing The New Bulb
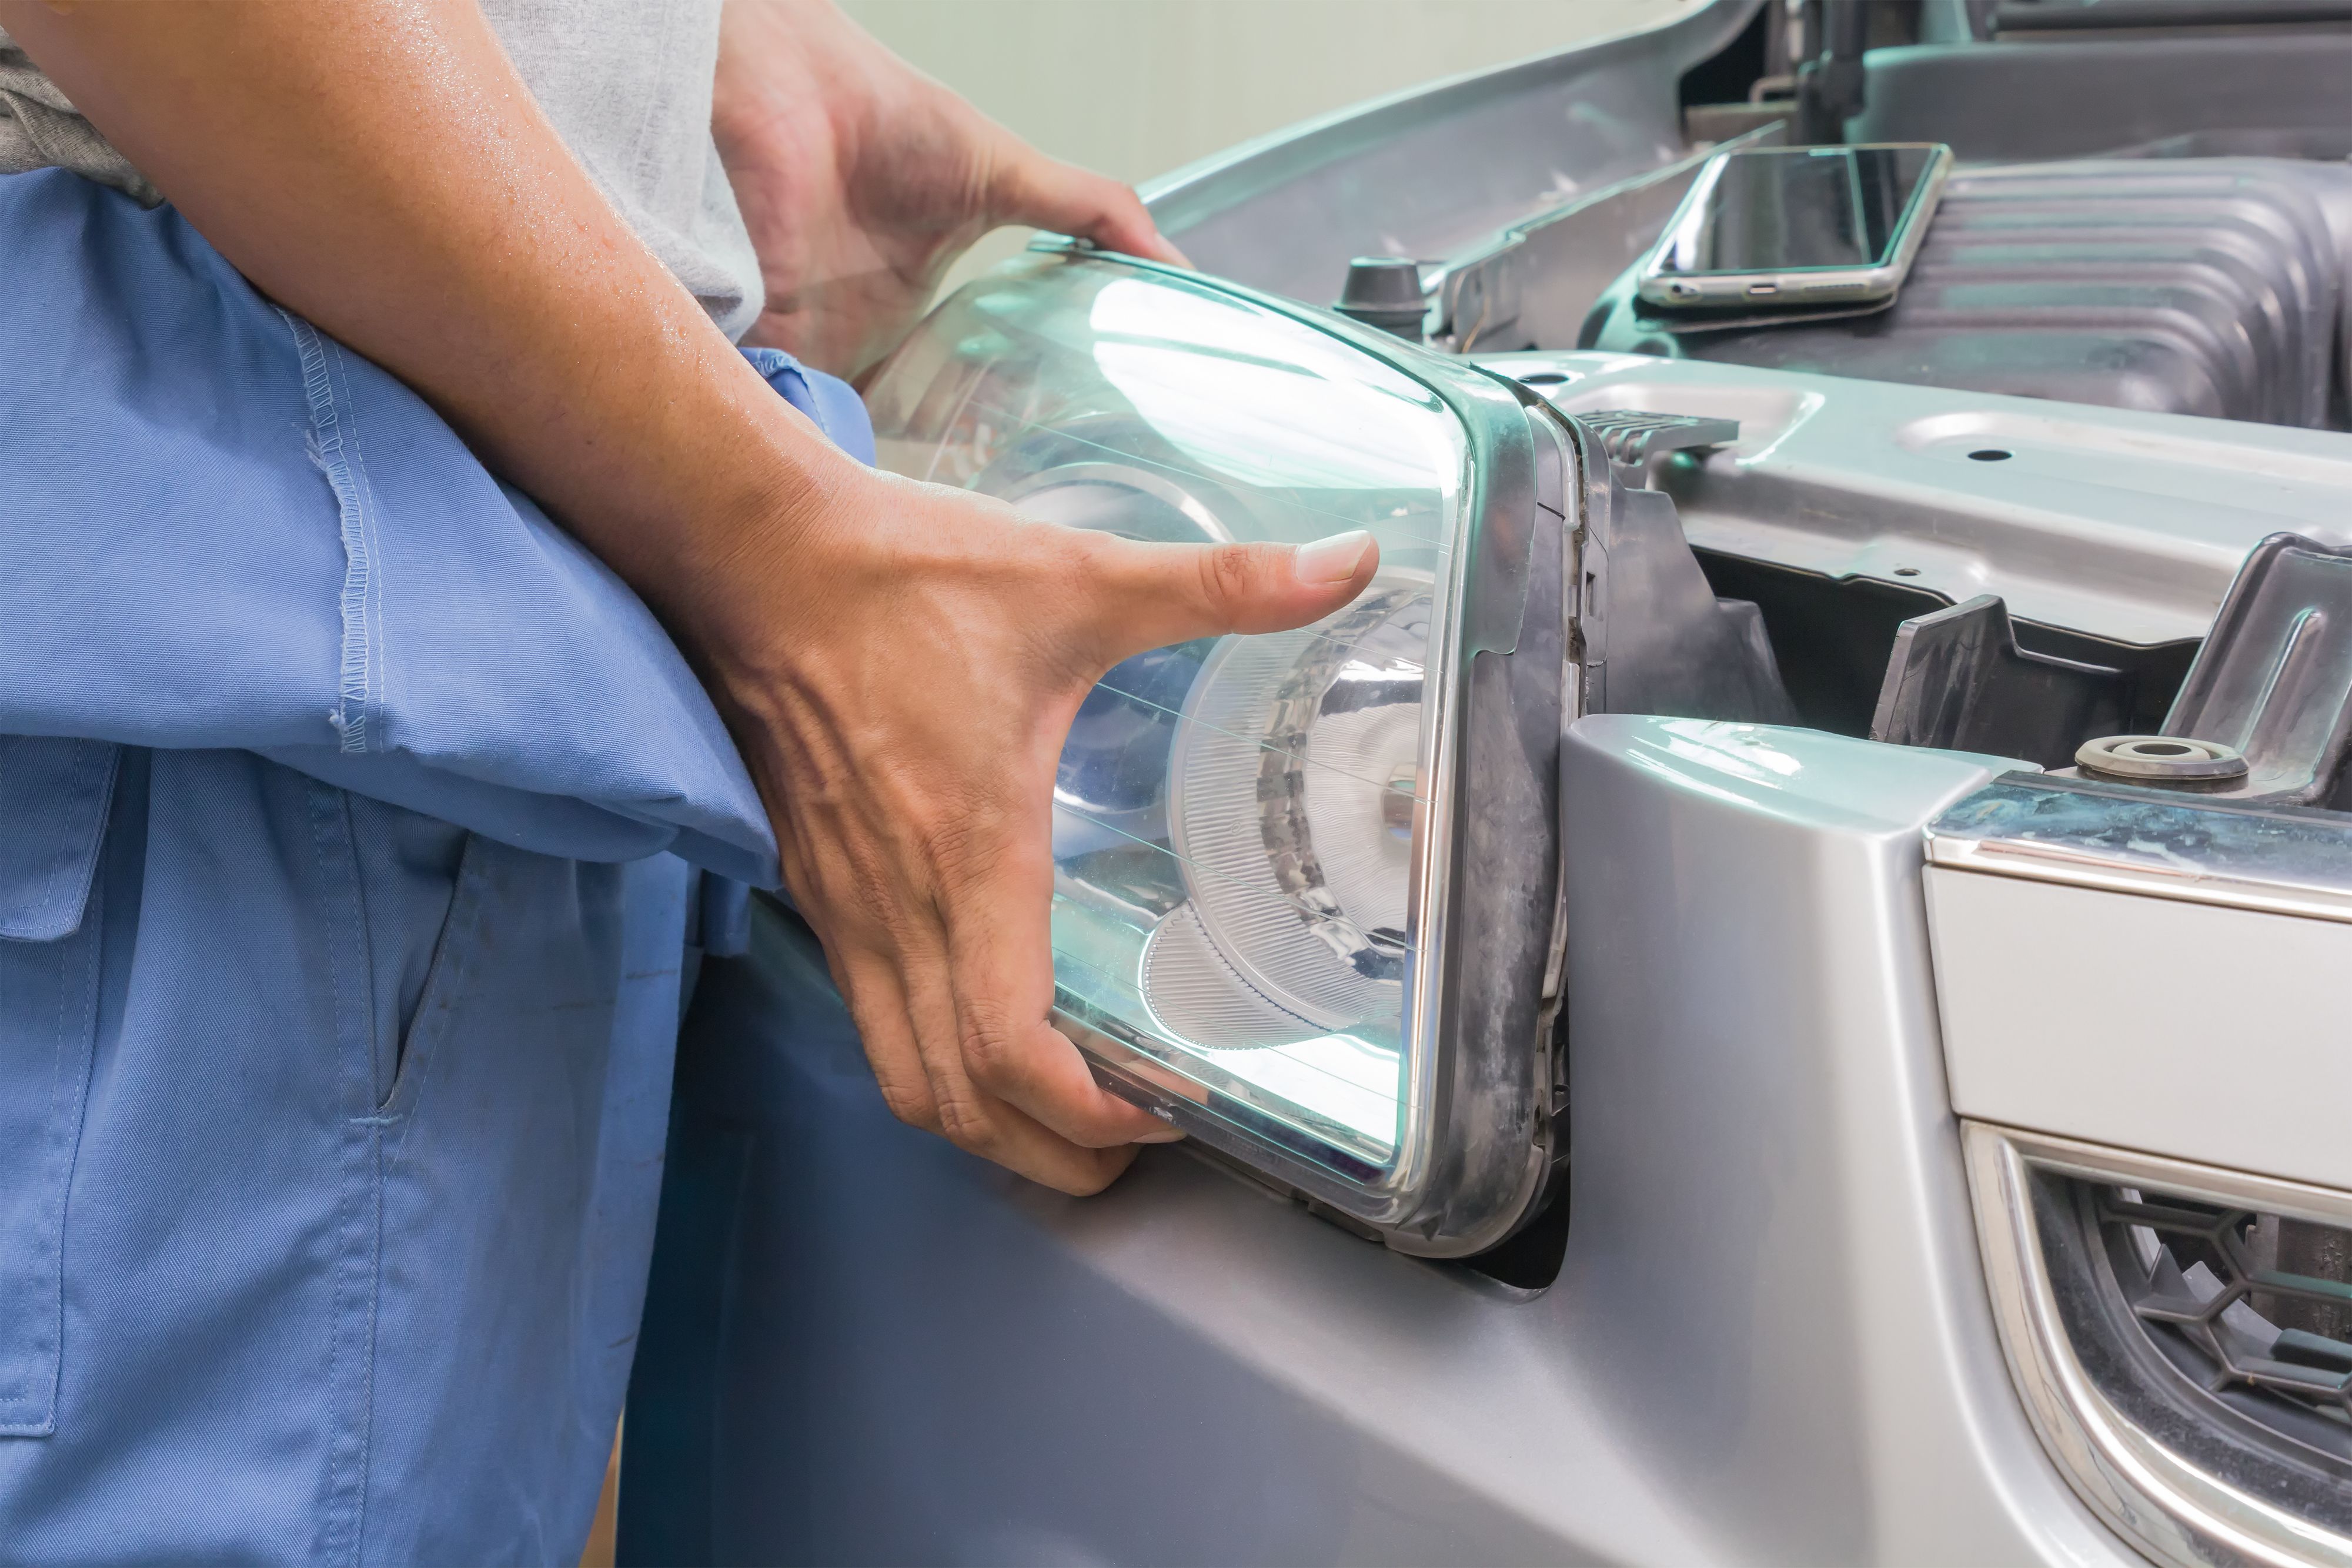
Changing a headlight can seem tricky, but it’s easier than it looks. Once you have removed the old bulb, the next step is installing the new bulb. Follow these steps carefully to ensure a successful installation.
Handle With Care
The new headlight bulb is delicate. Handle it with care to avoid damage. Always hold the bulb by its base.
If you touch the glass part, it can leave oil from your fingers. This can cause the bulb to burn out quickly. Use a clean cloth or wear gloves to keep the bulb clean.
Here is a quick tip:
- Never touch the glass part of the bulb.
- Use gloves or a clean cloth when handling the bulb.
Secure The Bulb
Once you have the bulb ready, it’s time to secure it in place. Follow these steps:
- Insert the bulb into the headlight housing. Make sure it fits snugly.
- Twist the bulb clockwise until it clicks into place.
- Reconnect the wiring harness to the base of the bulb.
Ensure the bulb is secure and won’t move. A loose bulb can affect the light’s performance.
Now, test the new headlight to make sure it works. Turn on your car’s headlights and check the beam pattern.
If the new bulb is working correctly, you have successfully changed your headlight!

Credit: payneautogroup.com
Testing The New Headlight
Now that you’ve replaced your headlight, it’s time to test it. Testing ensures that the new headlight works correctly and is properly aligned.
Reconnect The Power
First, reconnect the power to the headlight. Make sure the car is off. Locate the headlight’s power connector and plug it in securely. Turn on your car and switch on the headlights.
Check both low and high beams. Ensure they both work. If they don’t, check the connections again. Secure any loose wires.
Check The Alignment
Next, check the headlight alignment. Misaligned headlights can cause poor visibility. Park your car on a level surface. Face a wall or garage door about 10 feet away.
Turn on your headlights. The light beams should be even and level. If they are not, adjust the headlight using the adjustment screws. Refer to your car’s manual for specifics.
Proper alignment ensures safe night driving. Misaligned lights can blind other drivers. Always double-check your work.
| Step | Action |
|---|---|
| 1 | Reconnect the power to the headlight. |
| 2 | Turn on the headlights. |
| 3 | Check both low and high beams. |
| 4 | Adjust the alignment if necessary. |
By following these steps, you ensure your headlights are working properly. This helps keep you safe on the road.
Final Adjustments
After installing your new headlight, it’s time for the final adjustments. These steps ensure that your headlights are properly aligned and secure. This will improve visibility and safety while driving.
Adjust Headlight Aim
Incorrectly aimed headlights can be dangerous. Follow these steps to adjust them:
- Park your car 25 feet from a wall.
- Turn on your headlights.
- Mark the center of each light beam on the wall with tape.
- Open your hood and locate the adjustment screws on your headlight assembly.
- Turn the screws to adjust the height and direction of the beam.
Ensure the light beams are level and centered on the tape marks. This will help you see the road better and avoid blinding other drivers.
Tighten All Screws
Once your headlights are aimed correctly, ensure all screws are tight:
- Check the screws on the headlight housing.
- Use a screwdriver to tighten any loose screws.
- Double-check that the headlight is securely in place.
Loose screws can cause the headlight to move and misalign. Tightening all screws ensures your headlight stays in the correct position.
Maintenance Tips
Keeping your headlights in good condition ensures safety during night driving. Regular maintenance can prevent unexpected failures and keep your lights bright. Follow these simple tips to maintain your headlights effectively.
Regular Checks
Performing regular checks on your headlights is crucial. Here are some easy steps:
- Inspect your headlights weekly for any signs of damage.
- Test the brightness of your headlights monthly.
- Replace any burnt-out bulbs immediately.
Regular checks can help you spot issues early. This ensures your headlights are always in top shape.
Clean Headlight Lenses
Dirty lenses can reduce the effectiveness of your headlights. Follow these steps to clean them properly:
- Use a soft cloth to wipe off dust and grime.
- Apply a headlight cleaning solution if needed.
- Buff the lenses gently to avoid scratches.
Keeping your headlight lenses clean improves visibility and safety. Clean them regularly for the best results.

Credit: www.youtube.com
Frequently Asked Questions
Can I Replace A Headlight Bulb Myself?
Yes, you can replace a headlight bulb yourself. Follow your vehicle’s manual for guidance. Ensure the car is off and cool.
Will Autozone Replace My Headlight Bulb For Me?
Yes, AutoZone can help replace your headlight bulb. They offer assistance and guidance for most vehicle models.
Which Way To Twist A Headlight Bulb?
Twist the headlight bulb counterclockwise to remove it. Twist clockwise to install the new bulb. Always refer to your vehicle’s manual.
Can You Replace Just One Headlight?
Yes, you can replace just one headlight. However, it’s often recommended to replace both for consistent brightness and performance.
Conclusion
Changing a headlight is a simple yet essential task. With the right tools and steps, anyone can do it. Regularly check your headlights for safety. This small maintenance task can save you from bigger issues. Stay safe and keep your vehicle in top condition by following these easy steps.


