
Credit: Amazon.com
Introduction
Ever found yourself squinting through the dark, barely able to see the road ahead because one of your headlights went out? If so, you know how crucial headlights are for safe driving. They illuminate the path, signal your presence to other drivers, and help you navigate in low-light conditions. But headlights don’t last forever. Eventually, they burn out, and knowing how to change them yourself can save you both time and money. So, let’s dive into everything you need to know about changing a headlight.
Understanding Your Vehicle’s Headlight System
Before you roll up your sleeves, it’s essential to understand the basics of your vehicle’s headlight system. Headlights come in various types, each with its unique features and requirements.
Types of Headlights: Halogen, LED, and Xenon
Credit: Amazon.com
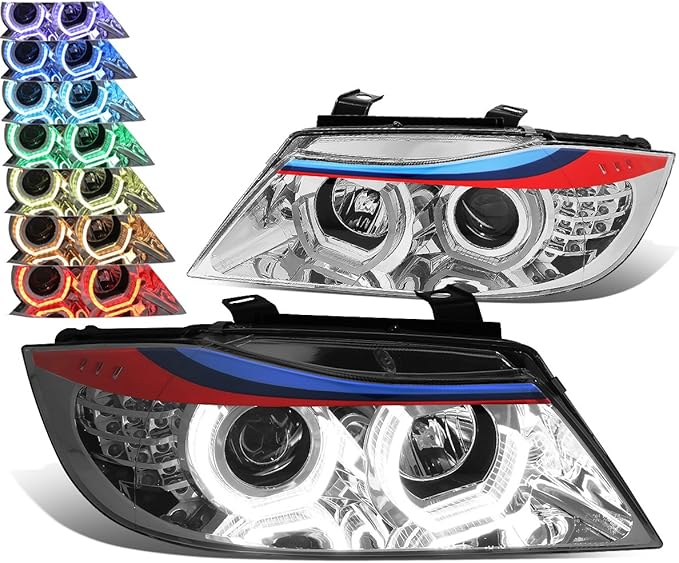
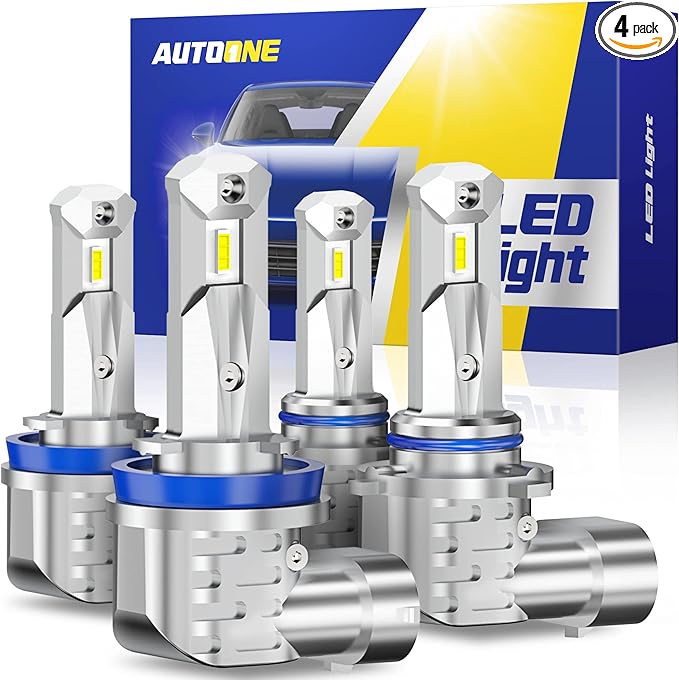
The most common types of headlights are halogen, LED, and Xenon (HID). Halogen headlights are the traditional choice, known for their affordability and ease of replacement. LEDs, while more expensive, offer better brightness and longevity. Xenon headlights, on the other hand, provide intense, bright white light and are often found in luxury vehicles. Knowing what type you have will help you choose the right replacement bulb.
Identifying the Right Bulb for Your Vehicle
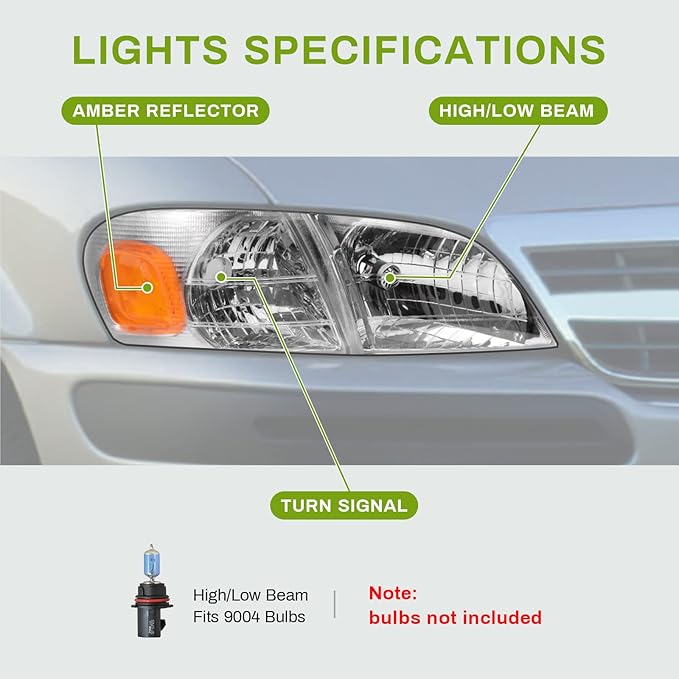
Consult your vehicle’s owner manual or check the existing bulb to find out the specific type you need. Headlight bulbs are not one-size-fits-all, so ensure you get the correct model to avoid any issues.
Tools and Materials Needed
Before starting, gather the tools and materials required for the job. Here’s what you’ll need:
Essential Tools for Changing a Headlight
- Replacement headlight bulb
- Screwdriver (Phillips or flathead, depending on your vehicle)
- Gloves to protect the bulb from oils on your skin
- Clean cloth
Optional Items for a Smoother Process
- Socket wrench (for vehicles with secured headlight housings)
- Dielectric grease (to prevent corrosion on the bulb’s connection)
Having everything at hand before you begin will make the process smoother and quicker.
Preparing to Change the Headlight
Preparation is key to any successful repair job, and changing a headlight is no exception.
Safety First: Ensuring the Vehicle is Off and Cool
Start by turning off your vehicle and ensuring the engine is cool. This step is crucial, as some components under the hood can be hot enough to cause burns.
Locating the Headlight Assembly
Credit: Amazon.com
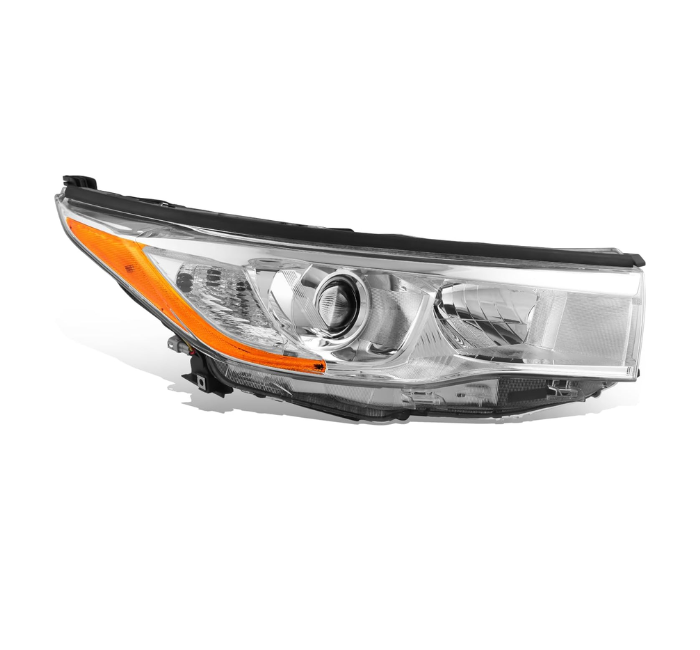
Pop the hood and locate the headlight assembly. In most vehicles, this is a clear casing at the front of the car. Depending on your vehicle, you might need to remove some panels or covers to access the headlight bulb.
Step-by-Step Guide to Changing a Headlight
Now that you’re prepared, it’s time to get your hands dirty. Follow these steps to replace your headlight bulb.
Step 1: Accessing the Headlight Bulb
Most vehicles have a protective cover over the headlight assembly. Remove this cover by unscrewing it or unclipping it, depending on your car’s design. Once the cover is off, you’ll see the wiring harness connected to the bulb. Carefully disconnect the wiring harness by pressing the tab and pulling it away from the bulb.
Step 2: Removing the Old Bulb
Once the wiring harness is disconnected, twist the old bulb counterclockwise to remove it from the socket. Be gentle, as you don’t want to damage the socket or the bulb housing.
Step 3: Installing the New Bulb
Take your new bulb out of its packaging, making sure not to touch the glass with your fingers. Oils from your skin can cause the bulb to burn out prematurely. If you do accidentally touch it, clean the bulb with a lint-free cloth. Insert the new bulb into the socket, turning it clockwise to secure it.
Step 4: Reassembling the Headlight Unit
Reconnect the wiring harness to the bulb, ensuring it’s firmly in place. Then, reattach the protective cover over the headlight assembly. Double-check that everything is secure before moving on.
Step 5: Testing the New Headlight
Before you close the hood, test the new headlight. Turn on your vehicle and switch on the headlights to ensure the new bulb is functioning correctly. Check both the brightness and alignment. If the headlight is too high or too low, you might need to adjust the beam.
Troubleshooting Common Issues
Sometimes, even after carefully following the steps, things can go wrong. Here are some common issues and how to fix them:
What to Do If the Headlight Doesn’t Turn On
If the new bulb doesn’t turn on, double-check the wiring connection. Make sure the bulb is securely placed in the socket and that the wiring harness is properly attached. If it still doesn’t work, you might have a blown fuse or a problem with the vehicle’s electrical system.
Fixing Flickering or Dim Headlights
Flickering or dim headlights can be caused by a loose connection, a failing alternator, or battery issues. Start by checking the connection to the bulb. If that’s not the problem, it might be time to have your vehicle’s electrical system inspected by a professional.
Tips for Extending the Life of Your Headlights
You’ve got your new headlights installed, but how can you make sure they last as long as possible?
Proper Maintenance and Cleaning
Keep your headlights clean by regularly wiping them down with a soft cloth. Dirt and grime can dull the light output and reduce visibility. Additionally, check for any signs of moisture inside the headlight assembly, as this can indicate a leak that needs to be addressed.
When to Consider Upgrading Your Headlights
If you frequently drive at night or in poor weather conditions, consider upgrading to LED or Xenon headlights for better performance and longevity.
Understanding the Legal Aspects
While headlights are crucial for your safety, they’re also a legal requirement. Driving with a faulty headlight can lead to fines and penalties.
Ensuring Your Headlights Meet Legal Requirements
Credit: Amazon.com
Make sure your headlights are properly aligned and of the correct brightness. Different states have varying laws regarding headlight specifications, so it’s a good idea to check your local regulations.
Penalties for Driving with Faulty Headlights
Driving with a burnt-out or malfunctioning headlight can result in a traffic stop and a citation. In some cases, it might even affect your insurance rates.
When to Seek Professional Help
Changing a headlight is usually straightforward, but sometimes you might run into more complex issues.
Signs That the Issue May Be More Complex
If you’ve changed the bulb and it still doesn’t work, or if you notice issues like moisture inside the headlight or electrical problems, it might be time to consult a mechanic.
Finding a Reliable Mechanic
Look for a certified mechanic with good reviews in your area. They can diagnose the problem and ensure your headlights are functioning properly.
Conclusion
Changing a headlight might seem daunting at first, but with the right tools and a little patience, you can do it yourself in no time. Not only will this save you money, but it will also give you the satisfaction of knowing you’ve taken care of your vehicle.


