

Credit: Amazon.com
Driving at night can be challenging, especially if your headlights are not properly aligned. Misaligned headlights not only reduce your visibility but can also blind oncoming drivers, creating a dangerous situation on the road. Ensuring your beam headlights are correctly adjusted is a simple yet crucial task that every car owner should know how to do. In this article, we’ll walk you through the step-by-step process of properly adjusting your headlights, helping you stay safe while driving at night.
Understanding Headlight Alignment
Before diving into the adjustment process, it’s important to understand what headlight alignment is and why it matters. Headlight alignment refers to the correct positioning of your headlights to ensure they illuminate the road ahead without causing glare to other drivers. Signs that your headlights may be misaligned include uneven or dim lighting, one headlight appearing higher than the other, or excessive glare in the eyes of oncoming drivers. Additionally, many regions have legal requirements for headlight alignment, making it not just a safety issue but a legal one as well.
Tools and Preparation
Before you begin adjusting your headlights, gather the necessary tools and prepare your vehicle. Here’s what you’ll need:
Essential Tools for Headlight Adjustment
- Screwdriver: Depending on your car model, you’ll need either a Phillips or flat-head screwdriver.
- Measuring Tape: To measure distances accurately.
- Level: To ensure your vehicle is on a flat surface.
- Masking Tape: To mark the positions on the wall during the adjustment process.
Preparing Your Vehicle
- Check Tire Pressure: Ensure your tires are properly inflated. Uneven tire pressure can tilt your vehicle, affecting headlight alignment.
- Ensure Vehicle Is on a Level Surface: Park your car on a flat, level surface for accurate headlight adjustment.
- Remove Excess Weight from the Car: Clear out any heavy items from the trunk or back seat to avoid skewing the alignment.
Step-by-Step Guide to Adjusting Headlights
Credit: Amazon.com
Now that you’ve got your tools ready and your vehicle prepped, it’s time to adjust your headlights. Follow these steps for accurate alignment:
Find a Suitable Location
You’ll need a flat surface and a wall to project your headlights onto. An empty garage or parking lot works well. Park your car about 10 to 25 feet away from the wall. Make sure the surface is level to ensure an accurate adjustment.
Positioning the Vehicle
Park your car so that it’s perpendicular to the wall, ensuring that the car is centered. The distance from the wall should be between 10 and 25 feet, depending on your vehicle’s size. The closer you are to the wall, the more precise your adjustments will be.
Marking the Headlight Centerlines
Use the measuring tape to find the center of each headlight, measuring from the ground to the center of the headlight lens. Mark the center points on the wall with masking tape, creating both horizontal and vertical lines that correspond to each headlight.
Adjusting the Vertical Aim
Locate the vertical adjustment screws on your headlights—usually found near the headlight assembly. Turn these screws to move the beam up or down. The top of the most intense part of the beam should align with or be slightly below the horizontal line you marked on the wall.
Adjusting the Horizontal Aim
Next, find the horizontal adjustment screws. These will allow you to move the beam left or right. The most intense part of the beam should be centered on the vertical line you marked earlier. Be careful not to over-adjust, as this can cause your lights to point too far to the left or right.
Final Check
After making your adjustments, step back and recheck the alignment of both headlights. They should be evenly positioned, with the beams pointing straight ahead, neither too high nor too low. To ensure your adjustments are correct, take your car for a short drive in a dark area and observe the beam patterns on the road.
Common Mistakes to Avoid
Adjusting headlights can seem straightforward, but there are a few common mistakes you should avoid to ensure the best results:
Ignoring Tire Pressure and Load
If your tires are underinflated or if your car is carrying a heavy load, it can tilt the vehicle and throw off your headlight alignment. Always check your tire pressure and remove unnecessary weight before starting.
Adjusting Only One Headlight
Credit: Amazon.com
It’s essential to adjust both headlights, even if only one appears to be misaligned. This ensures that both beams are properly aligned and provide balanced illumination.
Misinterpreting Beam Patterns
Understanding the beam pattern is crucial. The cutoff line (where the beam transitions from light to dark) should be sharp and distinct. A blurry or scattered beam can indicate improper alignment.
When to Seek Professional Help
While adjusting your headlights is generally a task you can do yourself, there are times when professional help is necessary:
Complex Headlight Systems
Modern cars often come with adaptive headlights or automatic leveling systems, which can be more complex to adjust. If your vehicle has such a system, it’s best to have a professional handle the adjustment.
Persistent Misalignment
If you’ve adjusted your headlights and they still don’t seem right, or if they become misaligned frequently, there could be a deeper issue with the headlight assembly or suspension that needs professional attention.
Regular Headlight Maintenance
Credit: Amazon.com
Proper headlight alignment is just one part of maintaining your vehicle’s lighting system. Here are a few additional maintenance tips:
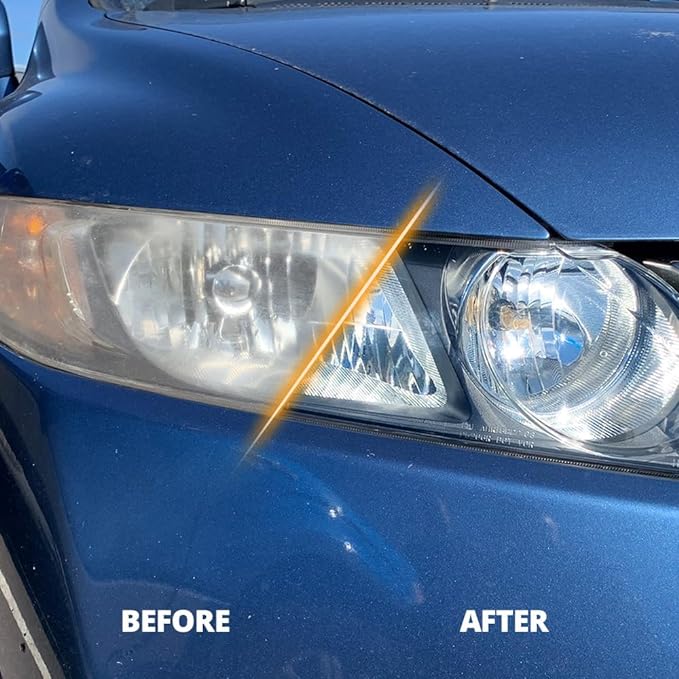
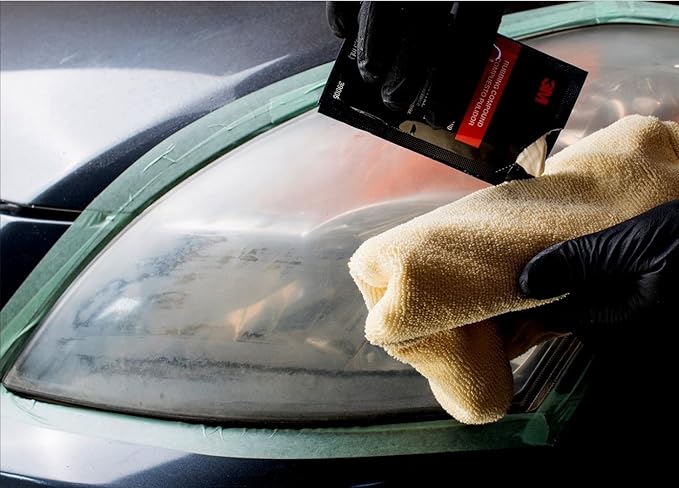
Cleaning the Headlight Lenses
Over time, headlight lenses can become cloudy or dirty, reducing the effectiveness of your lights. Regularly clean the lenses with a gentle cleaner to maintain optimal clarity.
Checking Alignment Periodically
Even after adjusting your headlights, it’s a good idea to check their alignment periodically, especially if you frequently drive on rough roads that can jostle your vehicle.
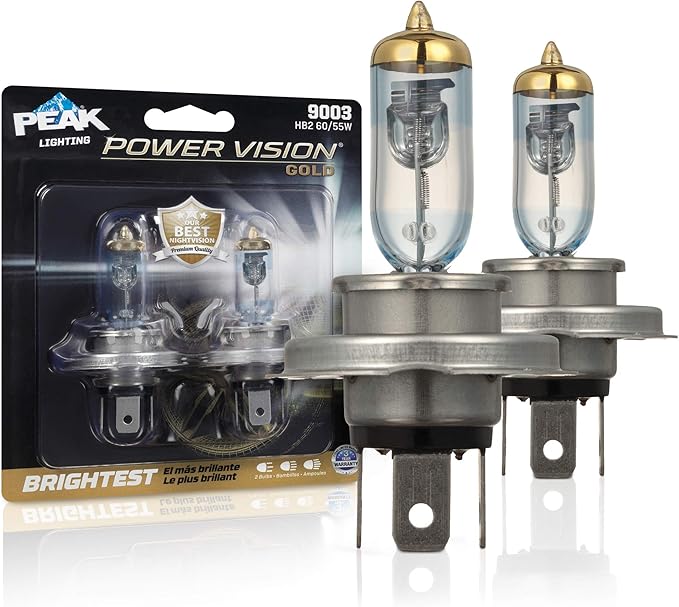
Replacing Worn Headlight Bulbs
As bulbs age, they can become dimmer, which affects your overall visibility. Replace bulbs as soon as you notice a decline in brightness to maintain proper illumination.
Conclusion
Properly aligned headlights are crucial for safe nighttime driving. Misaligned headlights not only hinder your ability to see the road but also pose a risk to other drivers. By following the steps outlined in this guide, you can ensure your headlights are correctly adjusted, providing optimal visibility and improving your safety on the road. Remember, headlight alignment isn’t a one-time task—regular checks and adjustments are key to maintaining safe driving conditions.


