

Credit: Amazon.com
Replacing a headlight on your Mack truck is an essential maintenance task that ensures optimal visibility and safety on the road. Whether you’re upgrading to a brighter model or simply replacing a burnt-out bulb, this guide will walk you through the process step-by-step. Even if you’re not mechanically inclined, with a little patience and the right tools, you can complete this task and get back on the road with confidence.
Tools and Materials Needed
Before you start, gather the necessary tools and materials:
- Replacement Headlight (ensure it’s compatible with your specific Mack truck model)
- Screwdrivers (Phillips and flathead)
- Socket wrench set
- Gloves (to protect the bulbs from oil and dirt)
- Safety glasses (to protect your eyes from debris)
- Owner’s Manual (for specific instructions related to your truck model)
Step 1: Ensure Safety
Safety should be your first priority. Park your truck on a flat, stable surface and turn off the engine. Engage the parking brake to prevent any movement. It’s also a good idea to disconnect the truck’s battery to avoid any electrical issues while working on the headlights.
- Tip: If you’re working in a dimly lit area, use a portable work light to ensure you can see clearly.
Step 2: Access the Headlight Assembly
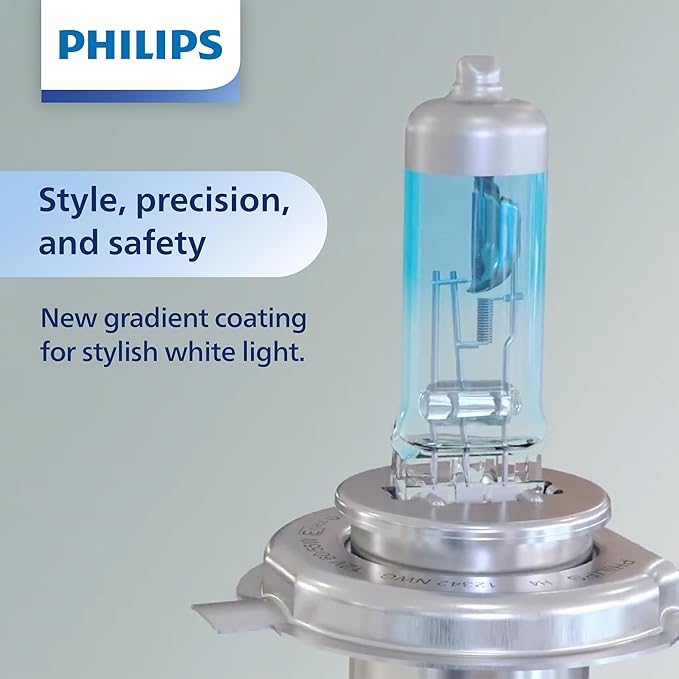
Credit: Amazon.com
Depending on your Mack truck model, the headlight assembly may be accessed either from the front of the vehicle or by opening the hood.
- Open the Hood: If necessary, pop the hood and secure it with the hood prop.
- Remove the Grille or Trim (if applicable): Some Mack models may require the removal of the front grille or trim pieces to access the headlight assembly. Use a screwdriver or socket wrench to carefully remove these components.
- Locate the Headlight Assembly: Identify the headlight assembly, which is usually secured with screws or bolts.
Step 3: Remove the Old Headlight
With the headlight assembly exposed, it’s time to remove the old headlight:
- Disconnect the Wiring Harness: The headlight is connected to the truck’s electrical system via a wiring harness. Gently disconnect this by pressing the release tab and pulling the connector away from the headlight.
- Remove the Retaining Screws or Bolts: Use a screwdriver or socket wrench to remove the screws or bolts holding the headlight in place.
- Carefully Remove the Headlight: Once the screws or bolts are removed, carefully pull the headlight out of its housing. Be cautious not to damage any surrounding components.
Step 4: Install the New Headlight
Now that the old headlight is removed, you can install the new one:
- Align the New Headlight: Position the new headlight into the housing, making sure it’s properly aligned. The mounting holes should line up with the holes in the headlight assembly.
- Secure the Headlight: Replace the screws or bolts and tighten them securely. Be careful not to over-tighten, as this can crack the headlight or strip the threads.
- Reconnect the Wiring Harness: Reconnect the wiring harness to the new headlight. Ensure that it clicks into place and is secure.
Step 5: Test the New Headlight

Credit: Amazon.com
Before reassembling any trim or grille components, test the new headlight to ensure it’s working properly:
- Reconnect the Battery (if disconnected): Reconnect the battery to restore power to the truck’s electrical system.
- Turn on the Headlights: Turn on the headlights to check that the new light is functioning correctly.
- Check High and Low Beams: Cycle through the high and low beams to make sure both are operational.
Step 6: Reassemble the Grille or Trim
If you had to remove the grille or trim pieces, now is the time to reassemble them:
- Replace the Grille or Trim: Carefully position the grille or trim back into place and secure it with the screws or bolts you removed earlier.
- Double-Check Fastenings: Ensure all screws and bolts are tight and that the grille or trim is securely attached.
Step 7: Adjust the Headlight Aim
Credit: Amazon.com
Proper headlight alignment is crucial for ensuring maximum visibility and avoiding glare for oncoming drivers.
- Park on a Level Surface: Position your truck on a flat surface facing a wall or garage door about 25 feet away.
- Mark the Wall: Use masking tape to mark the horizontal and vertical centerlines of the headlight beams on the wall.
- Adjust the Headlights: Use the adjustment screws on the headlight assembly to align the beams so they are even and point slightly downward. Refer to your owner’s manual for specific alignment instructions.
Step 8: Final Inspection and Clean-Up
Before hitting the road, take a few moments to inspect your work:
- Check All Connections: Ensure that all electrical connections are secure and that the headlight is firmly in place.
- Clean the Headlight Lens: Use a soft cloth to clean the lens of the new headlight, removing any fingerprints or smudges that could affect light output.
- Store Tools Safely: Gather and store all tools and materials, ensuring your workspace is clean.
Conclusion
Replacing a headlight on your Mack truck is a straightforward task that can significantly improve your driving safety. By following this step-by-step guide, you can ensure your headlights are functioning at their best, providing you with the visibility you need to navigate the roads confidently. Whether you’re upgrading to a more powerful light or simply replacing a worn-out bulb, proper installation is key to getting the most out of your headlights.
FAQs
- How often should I replace my Mack truck headlights?
- Headlight replacement depends on the type of bulbs you use. Halogen bulbs typically last 1-2 years, while LED headlights can last up to 50,000 hours.
- Can I upgrade to LED headlights in my Mack truck?
- Yes, most Mack trucks can be upgraded to LED headlights, which offer better brightness, energy efficiency, and longer lifespan.
- What should I do if my new headlights are not bright enough?
- Ensure the headlights are correctly installed and aligned. If they’re still dim, consider upgrading to a higher-lumen model or checking for electrical issues.
- Is it necessary to adjust the headlight alignment after replacement?
- Yes, adjusting the alignment ensures that the headlights provide optimal visibility without blinding other drivers.
- Can I replace the headlight myself, or should I go to a professional?
- Replacing a headlight on a Mack truck is a task most drivers can handle themselves, but if you’re unsure or uncomfortable, it’s best to consult a professional.


