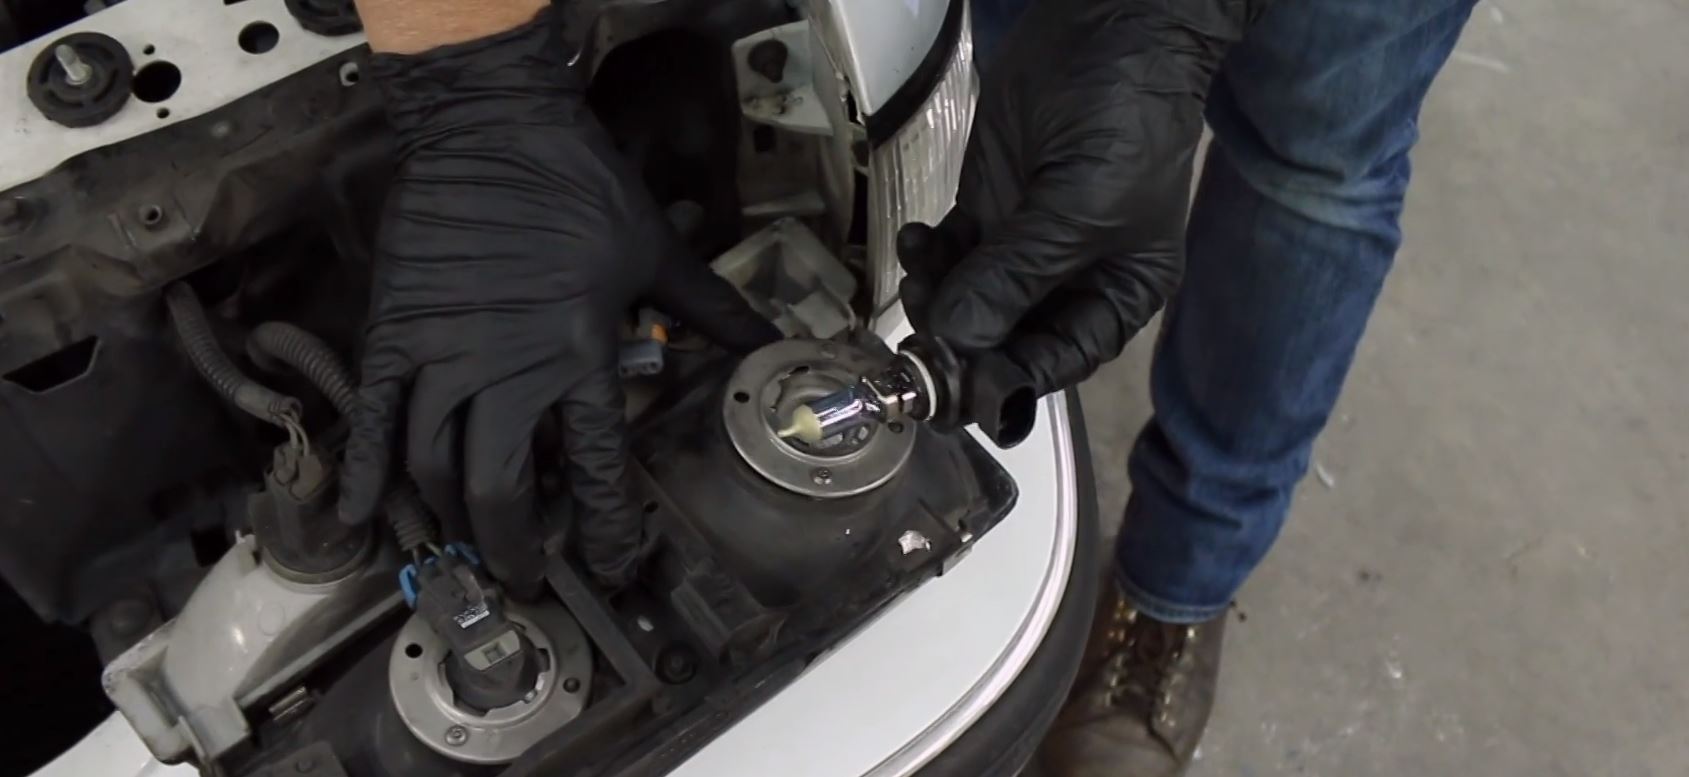
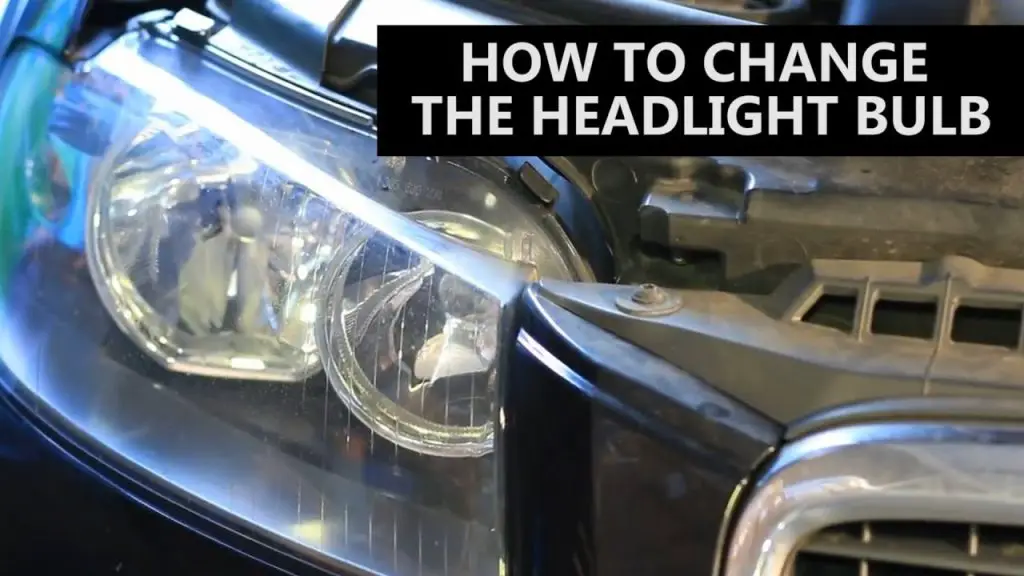
To replace headlight bulbs, first locate the headlight assembly. Then, remove the old bulb and install the new one.
Headlight bulbs are crucial for safe driving, especially at night or in poor weather conditions. Replacing them promptly ensures optimal visibility and reduces the risk of accidents. The process is generally straightforward and requires minimal tools. Knowing how to replace headlight bulbs can save time and money, avoiding the need for a mechanic.
Always refer to your vehicle’s manual for specific instructions. Properly functioning headlights are essential for road safety, making this a valuable skill for any car owner. Regularly check your headlights to ensure they are in good working condition.
Tools Needed
Replacing headlight bulbs can be a simple task. Having the right tools makes the process easier and faster. Here are the essential and optional tools you may need.
Essential Tools
To replace your headlight bulbs, you need a few basic tools. These tools are necessary for almost every vehicle.
- New Headlight Bulbs: Ensure you have the correct type for your vehicle.
- Screwdrivers: Both flathead and Phillips screwdrivers are essential.
- Gloves: Wear gloves to avoid touching the bulb glass.
- Owner’s Manual: Refer to it for specific instructions.
Optional Tools
Some tools are not always necessary but can make the job easier. These optional tools can save you time and effort.
- Socket Wrench Set: Useful for removing bolts and screws.
- Needle-Nose Pliers: Helps in reaching tight spots.
- Multimeter: Checks the electrical connections.
- Flashlight: Provides better visibility in dark areas.
| Tool | Purpose |
|---|---|
| New Headlight Bulbs | To replace the old bulbs |
| Screwdrivers | For removing and installing screws |
| Gloves | To protect the bulb and your hands |
| Owner’s Manual | For vehicle-specific instructions |
| Socket Wrench Set | Optional, for removing bolts |
| Needle-Nose Pliers | Optional, for tight spots |
| Multimeter | Optional, for checking electrical connections |
| Flashlight | Optional, for better visibility |
Safety Precautions
Replacing your headlight bulbs is crucial for safe driving. Before starting, follow these safety precautions to avoid injuries and damage.
Turn Off Engine
Always start by turning off the engine. This prevents any electrical issues. Never work on your car with the engine running.
Wear Safety Gear
Wear safety gear to protect yourself. Use gloves to avoid cuts or burns. Eye protection is also important. Headlight bulbs can shatter. Safety glasses keep your eyes safe.
| Safety Gear | Purpose |
|---|---|
| Gloves | Protect hands from cuts and burns |
| Safety Glasses | Protect eyes from shattering bulbs |
- Always handle bulbs with gloves.
- Keep your work area well-lit.
- Ensure the car is on a flat surface.
Follow these steps to stay safe. Your safety is important.
Locating The Headlight Assembly
Replacing your headlight bulbs is easier when you know where to start. The first step is finding the headlight assembly. This part of your car holds the headlight bulbs. Follow these simple steps to locate the headlight assembly.
Consult Manual
Your car’s manual is your best friend. It shows you the exact location of the headlight assembly. Look for the section that talks about lighting or headlights.
Usually, the manual includes pictures. These pictures make it easier to find the headlight assembly. If you don’t have the manual, you can often find it online.
Identify Bulb Type
Once you find the headlight assembly, you need to know the bulb type. Different cars use different headlight bulbs. Check the manual for this information.
You can also look at the old bulb. The type is usually written on the bulb itself. Common types include H1, H3, H7, and 9005.
Below is a table showing common bulb types and their uses:
| Bulb Type | Common Uses |
|---|---|
| H1 | High Beam |
| H3 | Fog Lights |
| H7 | Low Beam |
| 9005 | High Beam |
Make sure you buy the right bulb type. Using the wrong one can cause issues.

Credit: www.youtube.com
Removing The Old Bulb
Replacing a headlight bulb can seem tricky, but it’s simple. Follow these steps to remove the old bulb safely and efficiently.
Access The Bulb
First, open the hood of your car. Locate the back of the headlight assembly. This is where you’ll find the bulb. You may need to remove a cover or cap to see the bulb. Some cars require removing parts like the battery or air filter for better access.
| Car Model | Required Tools | Special Instructions |
|---|---|---|
| Sedan | Phillips Screwdriver | Remove battery cover |
| SUV | Flathead Screwdriver | Remove air filter |
Disconnect Wiring
Once you access the bulb, find the wiring connector. This is usually at the back of the bulb. Gently press the tab on the connector to release it. Pull the connector off the bulb carefully.
- Do not pull the wires directly.
- Ensure the car is off before disconnecting.
- Keep the connector clean and dry.
Next, twist the bulb counterclockwise to release it from the socket. Some bulbs may have clips or screws holding them in place. Use the appropriate tool to remove these fasteners.
- Locate and press the tab on the connector.
- Pull the connector off the bulb.
- Twist the bulb counterclockwise.
- Remove any clips or screws if necessary.
Now, you have successfully removed the old bulb. You are ready to install the new one.
Installing The New Bulb
Replacing a headlight bulb can seem tricky. But with the right steps, it’s simple and quick. This section will guide you through installing the new bulb.
Handle With Care
New headlight bulbs are fragile. Handle them gently. Always hold the bulb by its base. Avoid touching the glass part. Fingerprints can damage it.
- Wear gloves if possible.
- Use a clean cloth to hold the bulb.
- Keep the bulb in its packaging until ready to install.
Secure In Place
Insert the bulb into the socket firmly. Make sure it aligns properly. Twist or lock it according to your car’s design.
- Check the owner’s manual for specific instructions.
- Ensure the bulb is seated correctly.
- Reconnect the electrical connector.
Test the new bulb by turning on your headlights. Ensure they work properly. Adjust if needed.
| Step | Action |
|---|---|
| 1 | Handle the bulb with care. |
| 2 | Insert the bulb into the socket. |
| 3 | Secure the bulb in place. |
| 4 | Reconnect the electrical connector. |
| 5 | Test the new bulb. |
Replacing a headlight bulb doesn’t have to be complicated. Follow these steps and you’ll be back on the road in no time.

Credit: payneautogroup.com
Testing The New Bulb
Once you have installed your new headlight bulb, it is crucial to test it. This ensures the bulb works correctly and provides adequate lighting. Follow these steps to test your new headlight bulb efficiently.
Turn On Lights
First, make sure your car is in a safe spot. Turn on the ignition and switch on the headlights. Check both headlights to see if they are working. If one or both do not turn on, there might be an issue with the bulb or the installation.
Make sure to double-check the connections. Sometimes, a loose connection can cause the bulb not to light up. Ensure everything is tightly secured.
Check Beam Alignment
Proper beam alignment is essential for safe driving. Misaligned headlights can blind oncoming drivers or reduce your visibility. Park your car facing a wall or garage door, about 10 feet away.
Turn on the headlights and observe the beams on the wall. The beams should be at the same height and parallel to each other. If the beams are uneven or too high/low, you need to adjust them.
Use the adjustment screws near the headlight assembly. Turn the screws until the beams are correctly aligned. Refer to your car’s manual for specific adjustment instructions.
After adjusting, recheck the beams. Ensure they are perfectly aligned. Proper alignment helps you see the road better and keeps everyone safe.
Final Adjustments
Once you have installed your new headlight bulbs, it’s time for the final adjustments. These steps ensure that your headlights are properly aimed and secured. This will help you see clearly and drive safely at night.
Adjust Headlight Aim
Properly aimed headlights are crucial for safe driving. Follow these steps to adjust the aim:
- Park your car on a level surface facing a wall.
- Measure the distance from the ground to the center of the headlights.
- Mark this height on the wall with tape.
- Back your car up about 25 feet from the wall.
- Turn on the headlights and check the beam pattern.
- Use the adjustment screws to align the beams with the tape marks.
Ensure the beams are level and aimed straight ahead. This prevents blinding other drivers and improves your visibility.
Tighten Screws
Once your headlights are properly aimed, it’s important to tighten all screws. This keeps the headlights securely in place:
- Locate all screws around the headlight assembly.
- Use a screwdriver to tighten each screw.
- Check that the headlight is firmly in place.
Make sure you don’t over-tighten the screws. This can damage the headlight housing.
Following these steps ensures your headlights are safe and effective. Drive with confidence knowing your headlights are properly adjusted and secure.

Credit: www.autozone.com
Maintenance Tips
Regular maintenance of your vehicle’s headlights ensures safety and efficiency. Simple steps can make a big difference in visibility and performance. Here are some essential maintenance tips.
Regular Checks
Performing regular checks on your headlights is crucial. Inspect the bulbs weekly for any signs of wear or damage. Look for cracks, discoloration, or any irregularities. Also, make sure both headlights are working. If one is dimmer, it might need a replacement soon.
| Frequency | Action |
|---|---|
| Weekly | Inspect bulbs for damage |
| Monthly | Check headlight alignment |
| Every 3 months | Test headlight brightness |
Cleaning Lenses
Keeping the headlight lenses clean is essential for clear visibility. Dirty lenses can reduce the effectiveness of your headlights. Use a soft cloth and mild detergent to clean the lenses. Avoid harsh chemicals that could damage the lens surface.
- Mix mild detergent with water.
- Dip a soft cloth in the solution.
- Gently wipe the headlight lenses.
- Rinse with clean water.
- Dry with a soft towel.
Follow these steps regularly to maintain your headlights. Clean lenses ensure maximum light output. This improves your driving safety, especially at night.
Frequently Asked Questions
Can I Replace A Headlight Bulb Myself?
Yes, you can replace a headlight bulb yourself. Follow the vehicle’s manual instructions. Ensure safety precautions.
Will Autozone Replace My Headlight Bulb For Me?
Yes, AutoZone can help replace your headlight bulb. They offer this service for free at most locations.
Which Way To Twist A Headlight Bulb?
Twist the headlight bulb counterclockwise to remove it. Twist it clockwise to install a new one. Always consult your car’s manual for specifics.
How To Replace The Light Bulb Headlight?
Turn off the car and open the hood. Locate the headlight bulb holder and remove the old bulb. Insert the new bulb, secure it, and close the hood.
Conclusion
Replacing headlight bulbs is a simple task that enhances safety. Follow our step-by-step guide for best results. Ensure you have the right tools and replacement bulbs. Regular maintenance keeps your vehicle in top condition. Now you’re ready to tackle headlight bulb replacement with confidence.
Safe driving!


