Nilight LED pods installation involves secure mounting and wiring to your vehicle’s electrical system. Follow the manufacturer’s instructions for the best results.
Installing Nilight LED pods can enhance the functionality and appearance of your vehicle, providing better visibility for night driving and off-road adventures. Compact and durable, Nilight LED pods are popular for their bright illumination and ease of install. Before beginning, ensure you have the necessary tools and electrical knowledge or consult a professional.
Remember to disconnect the vehicle’s battery to prevent any electrical issues during the installation process. Proper installation not only ensures optimal performance but also maintains safety standards and the integrity of your vehicle’s electrical system.
Nilight Led Pods Installation Guide
Welcome to the ultimate Nilight Led Pods Installation Guide! Enhancing your vehicle’s lighting doesn’t just elevate its look – it significantly improves safety during nighttime drives and off-road adventures. Whether you’re preparing for a rugged trail or ensuring a bright path ahead, installing Nilight LED pods is a savvy move. Let’s dive into how you can efficiently install these robust lights and cast an impressive gleam wherever your journey takes you.
The Essentials For Installing Nilight Led Pods
First things first, understanding the basic requirements is crucial. Nilight LED pods are designed for easy setup, but ensuring you have everything you need is key to a smooth installation. Start by choosing an optimal location on your vehicle. The common spots are the front bumper, lower windshield pillar, or the roof rack. Each position offers unique lighting advantages.
- Front Bumper: Great for illuminating the road directly ahead.
- Lower Windshield Pillar: Helps eliminate blind spots.
- Roof Rack: Provides a broad view of the terrain.
Understanding Nilight Led Pod Features
Nilight LED pods boast features that make them a top choice for night vision and durability. Each pod typically includes bright LEDs with a substantial lifespan. They are encased in a waterproof and dustproof housing to withstand adverse weather conditions. Beyond robustness, Nilight pods offer adjustable mounting, allowing you to direct the light exactly where you need it. It’s important to know the functionality and features as they can influence installation choices and methods.
Tools Required For The Installation Process
For a successful installation, gather the following tools before you begin:
| Tool | Use |
|---|---|
| Drill | To create mounting holes on the vehicle. |
| Screwdriver Set | For securing mounting brackets and hardware. |
| Wrench Set | To tighten bolts and nuts. |
| Wire Strippers | For electrical connections. |
| Heat Shrink Tubing/Electrical Tape | For insulating wire connections. |
| Zip Ties | To manage wiring and prevent tangling. |
| Inline Fuse Holder (if not included) | To protect the electrical system. |
With these tools and the Nilight LED pods in hand, you’re all set for an upgrade that’s not just about aesthetics but also about functionality and safety. Dive into the installation process by closely following the product’s manual – it is your roadmap to a brighter and better driving experience.
Choosing The Right Nilight Led Pods
Nilight LED Pods offer a brilliant solution to increase visibility during off-road adventures or simply to upgrade your vehicle’s aesthetics. With so many options on the market, selecting the right LED pods becomes crucial to meet your vehicle’s lighting needs while ensuring durability, efficiency, and style. The journey to enhanced lighting begins with understanding your requirements and matching them to the right Nilight product.
Factors To Consider Before Purchase
Before adding Nilight LED Pods to your cart, consider these essential factors to guarantee a worthwhile investment in your vehicle’s lighting system:
- Usage: Define your primary use for the LED pods. Whether for off-road, marine, or emergency applications, the usage will dictate the intensity and type of light needed.
- Compatibility: Ensure the LED pods are compatible with your vehicle’s make and model. Check mounting options and electrical connections.
- Brightness: Lumens measure the brightness level. More lumens mean more light. Determine the lumens suitable for your needs.
- Beam Pattern: Decide between spot, flood, or combo beam patterns, based on whether you need focused or wide-angle illumination.
- Quality and Durability: Look for pods with sturdy housing, waterproof ratings, and a reputation for longevity.
- Warranty: A good warranty can save future expenses, ensuring peace of mind with your purchase.
Types Of Nilight Led Pods For Different Vehicles
Diverse needs require different types of Nilight LED Pods. Here’s a quick overview to help select the ideal pod for your vehicle:
| Vehicle Type | Recommended Nilight LED Pods | Features |
|---|---|---|
| Off-Road Vehicles | Nilight Spot Beam Pods | High-intensity beams for long-distance visibility |
| Trucks and Trailers | Nilight Flood Beam Pods | Wider beam angle for work-site illumination |
| Boats and Marine Crafts | Nilight Marine Series | Corrosion-resistant with water protection |
| Emergency and Safety Vehicles | Nilight Combo Beam Pods | Combination of spot and flood beams for versatility |
Selecting the appropriate Nilight LED Pods enhances safety and efficiency for various vehicle types. Whether cruising on a highway with your truck, navigating rugged terrains on an ATV, sailing through waters, or guiding through emergencies, Nilight has tailored options to light up the path ahead. Focus on matching your specific needs with the right features to ensure optimal lighting performance that stands the test of time.
Preparing For Installation
When setting out to install Nilight LED Pods on your vehicle, taking the time to properly prepare ensures a smooth and safe installation process. With the right tools and a bit of know-how, you’ll be ready to upgrade your vehicle’s lighting in no time. Let’s dive into how to get set up effectively.
Safety precautions and preparation tipsSafety Precautions And Preparation Tips
Before you start the installation, prioritizing your safety is paramount. Equip yourself with the necessary safety gear and ensure you have all the right tools at hand. Follow these precautions and preparation steps:
- Disconnect the battery: Always disconnect the vehicle’s battery to prevent any electrical shocks or shorts during the installation.
- Gather your tools: Have all your tools ready, including wiring kits, connectors, drills, and screws specific to your Nilight LED Pods model.
- Check the weather: Preferably, choose a dry day for installation as wet conditions can pose risks when working with electrical components.
- Read the manual: Familiarize yourself with the manufacturer’s guide to understand the specific requirements for your LED pods.
Step-by-step Guide To Positioning Your Pods
Strategically placing your Nilight LED Pods not only impacts their performance but also their appearance on your vehicle. Follow this step-by-step guide to position your LED pods for optimum functionality and style:
- Choose the location: Decide on the location where the LED pods will be mounted. Common areas include the front bumper, grille, or roof of the vehicle.
- Ensure visibility: Position the pods in a spot where they provide the best illumination without blinding oncoming traffic.
- Measure twice: Use a tape measure to ensure symmetrical placement and mark the spots lightly with a pencil or painter’s tape.
- Verify angles: Consider the beam angles for spot or flood lighting and adjust the pod angles to cater to your specific lighting needs.
- Test fit: Hold the pods up to their intended spot to check for any obstructions and ensure they fit without modifications.
Once the planning is complete, you’ll have a solid blueprint to start the installation. By adhering to these preparation guidelines, you’re setting the stage for a successful and efficient upgrade to your vehicle’s lighting system with Nilight LED Pods.
Illuminate Your Ride With Nilight Pods
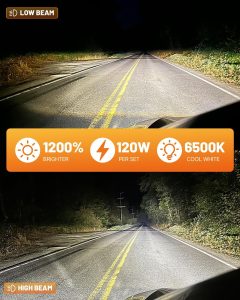
Welcome to a spirited transformation for your vehicle’s aesthetics and visibility. Nilight LED pods are not just about enhancing your ride’s appearance; they are engineered to cast a powerful beam that slices through darkness, enveloping your path in a bright, white light. Perfect for off-road adventurers and those seeking a striking upgrade, installing Nilight pods is a move towards safety, style, and substance.
Connecting To The Power Source
Initiating the illumination journey requires a reliable connection to your vehicle’s electrical system. Follow these simple steps to energize your Nilight LED pods:
- Locate your vehicle’s battery or a 12V power source.
- Attach the red wire to the positive terminal and the black wire to the negative terminal.
- Use the included relay harness and switch kit to create a safe, protected circuit.
- If required, integrate a fuse into the red wire near the battery connection for additional safety.
- Secure the switch within the vehicle’s cabin for easy access.
It’s crucial to ensure all connections are firm and insulated to prevent any electrical issues.
Securing Pods And Managing Wires
With the power in place, securing the Nilight pods is the next essential step:
- Select an appropriate location on your vehicle that offers optimal light coverage and is suitable for mounting.
- Use the provided bracket and hardware to affix the LED pods firmly.
- Route the wires away from high-temperature areas and moving parts to prevent damage.
- Use cable ties or clamps to neatly bundle and secure wires along the body of your ride.
Ensuring that wires are managed well not only keeps your vehicle tidy but also minimizes the risk of accidental disconnections or damage.
After Installation Care And Tips
Welcome to the ‘After Installation Care and Tips‘ section of our blog post. Now that you’ve successfully installed your Nilight LED Pods, it’s essential to understand how to maintain their performance and troubleshoot any issues that may arise. Proper care will ensure your LED Pods continue to illuminate your path effectively for years to come. Let’s move on to maintaining these fantastic lighting accessories.
Maintenance Best PracticesMaintenance Best Practices
Keeping your Nilight LED Pods in tip-top condition is straightforward but requires regular attention. Here are some best practices:
- Regularly clean the lens with a soft cloth and mild detergent to prevent dirt buildup, which can dim your lights.
- Inspect the wiring periodically for signs of wear or damage, and replace as necessary.
- Check the tightness of the mounting hardware as vibrations from driving can cause loosening over time. Tighten any loose bolts or screws.
- Ensure that the LED Pods are properly sealed to avoid water ingress. This includes checking for any damaged seals and resealing if needed.
- Keep the LED Pods’ heat sinks clean to ensure optimal thermal management.
Remember, consistency in performing these maintenance tasks will prolong the life and efficiency of your LED lighting.
Troubleshooting Common IssuesTroubleshooting Common Issues
Encountering problems post-installation can be frustrating, but most common issues with LED Pods can be resolved with simple checks:
- Dim lights or flickering: Check for a secure connection in the wiring harness and ensure the power source is stable.
- Non-functioning lights: Verify that the fuse is intact and the switch is operational. If everything appears in order, the LED Pod may need replacement.
- Water inside the lens: This typically indicates a broken seal. Dry the interior and reseal the lens to prevent moisture entry.
- Overheating: Confirm that the heat sinks are not obstructed and that there’s adequate airflow around the unit.
In case of persistent issues, consult the product manual or reach out to Nilight customer support for expert assistance.

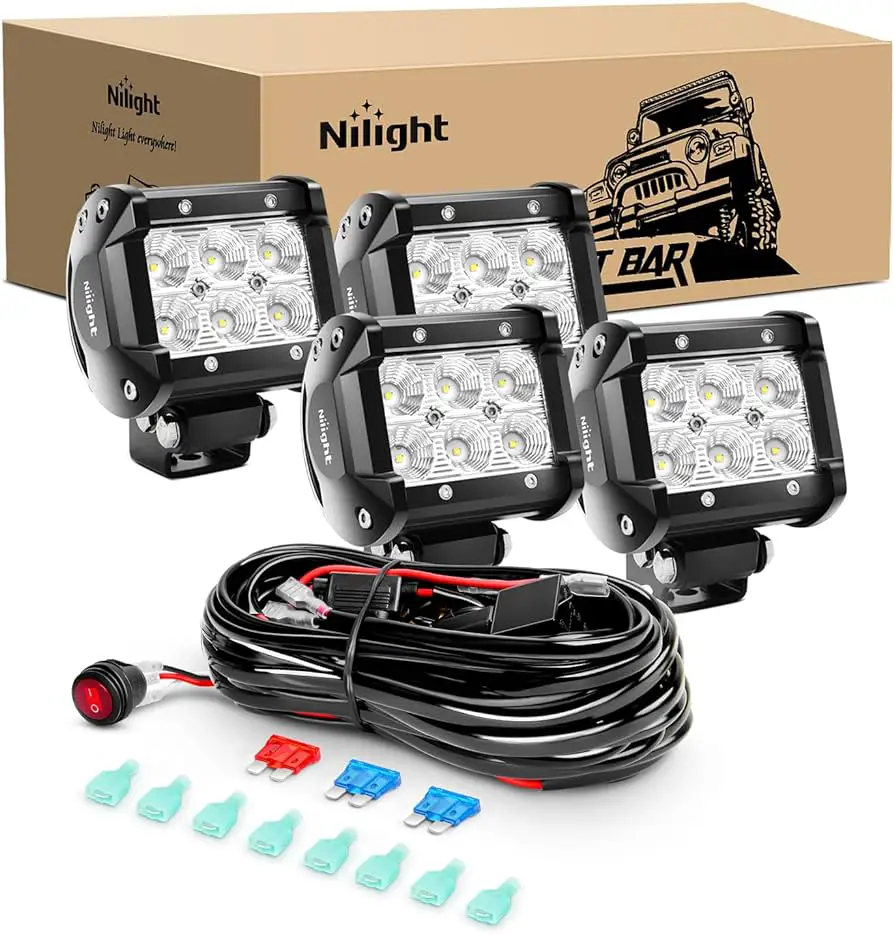
Credit: www.amazon.com
Frequently Asked Questions For Nilight Led Pods Installation
Can You Wire Led Light Bar Directly To Battery?
Yes, you can wire an LED light bar directly to the battery. Ensure you include a fuse and an appropriate switch for safety and functionality.
How Do You Install Led Lights Without Ruining The Paint?
To install LED lights without damaging the paint, clean the surface first, then stick the lights using their adhesive back. Opt for paint-friendly hooks for extra support, and use a hairdryer to gently warm the adhesive for easy removal later.
Avoid over-heating to protect the paint.
How Are Led Lights Wired?
LED lights are typically wired in a series or parallel circuit, connecting to a power source with a matching voltage rating. Each light has an anode (+) and cathode (-) for proper directional flow of current. Ensure compatibility with drivers or resistors as necessary for stable operation.
Where Do You Run Wires For A Roof Light Bar?
To run wires for a roof light bar, route them from the roof, through the door or windshield frame, into the cabin, and connect them to your vehicle’s power source. Ensure the wires are well-secured and protected from the elements.
Conclusion
Wrapping up, installing Nilight LED pods can be a game-changer for your vehicle’s illumination. Embracing these versatile lights brings enhanced visibility and a sleek look. Whether tackling a DIY project or calling in the pros, the upgrade is well worth it.
Safe travels on your brighter journey ahead!