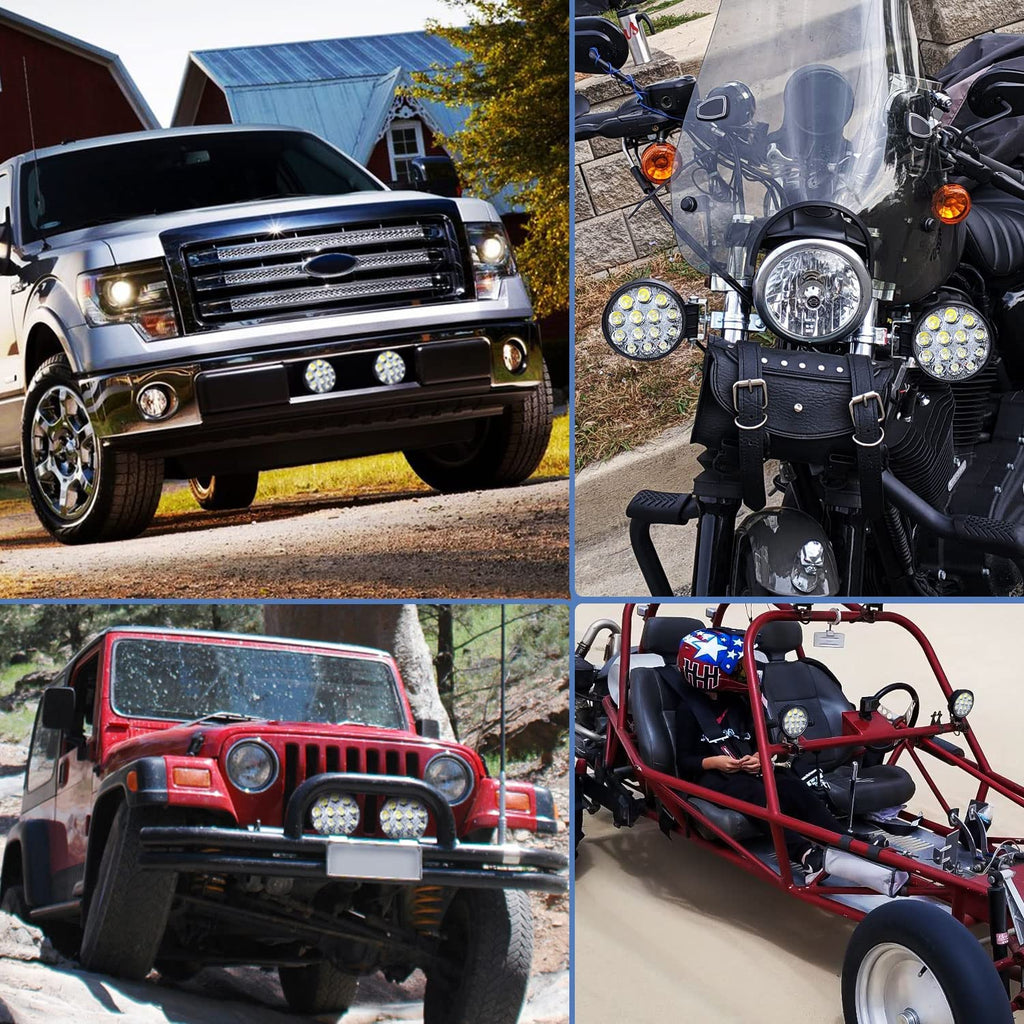
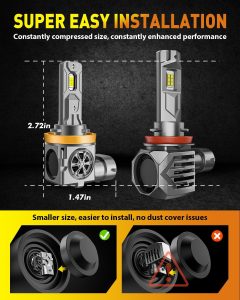
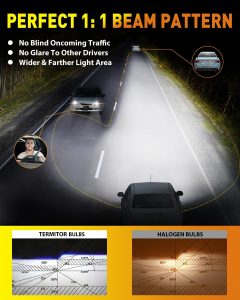
The Nilight Light Bar Wiring Diagram shows the connection layout for the light bar to the power source and switch. It details wire color coding and relay setup.
Understanding the Nilight Light Bar Wiring Diagram is crucial for a safe and effective installation. It serves as a schematic for connecting the light bar to your vehicle’s electrical system, ensuring it functions correctly. This diagram is designed to guide users through the wiring process, with clear indications of where each wire should be connected, including the ground, power lead, and switch.
It also illustrates how to integrate a relay and fuse into the system for added safety and functionality. By following this diagram, you can ensure your light bar is installed correctly, providing maximum visibility and reliability.
Choosing The Right Nilight Light Bar
Enhancing your vehicle’s lighting is not just about adding more luminance; it’s about selecting the right equipment that complements your driving needs. Before diving into the world of aftermarket illumination, it’s crucial to understand the diversity in the offerings. The choice extends beyond mere aesthetics—your safety and driving experience depend upon it. Explore the array of Nilight Light Bars to find the perfect match for your vehicle’s requirements.
Different Types Of Nilight Light Bars
Nilight offers a vast selection of light bars tailored for various uses, whether it’s off-roading adventures or improving road visibility.
- LED Spot Light Bars: Ideal for focused, long-range lighting needs.
- LED Flood Light Bars: They cast a broader beam for excellent peripheral visibility.
- Combination Light Bars: These mix spot and flood beams, providing a versatile lighting solution.
Considerations For Compatibility With Your Vehicle
Ensuring the light bar fits your vehicle involves more than just physical dimensions. Electrical compatibility is paramount. Follow these points to guarantee a seamless integration:
- Check the voltage specifications of both, your vehicle and the Nilight Light Bar, for match-up.
- Confirm that the mounting style of the light bar is compatible with your vehicle’s design. Some light bars come with adjustable brackets, providing more flexibility.
- Consider the wiring requirements and the provided wiring harness. Nilight’s systems typically include a wiring diagram and kit for easy installation.
Assessing Brightness And Beam Pattern
Brightness, measured in lumens, and beam pattern are critical factors in choosing the right Nilight Light Bar. Here’s how to assess them:
| Feature | Description |
|---|---|
| Lumens | The higher the lumens, the brighter the light. Pick a lumens rating suitable for your driving conditions. |
| Beam Pattern | Spot beams reach far ahead, while flood beams cover the area to the sides. The combination offers a balanced beam spread. |
Evaluate your driving environment and whether you need to prioritize distance or area coverage. It is advisable to choose a light bar that offers a balance, ensuring no blind spots during your night-time escapades.
Unboxing Your Nilight Light Bar Kit
Welcome off-road adventurers and vehicle enthusiasts! You’ve made the first thrilling step to enhance your ride’s illumination by choosing the Nilight Light Bar. The moment you receive your package, the excitement is palpable. It’s time to unbox your Nilight Light Bar Kit and gear up for an upgrade that not only boosts your vehicle’s visibility but also its rugged style. Let’s delve into what you’ll find inside the box and set the stage for a successful installation.
Key Components Of The Kit
- Nilight LED Light Bar: The star of the show, this high-intensity LED bar is designed to illuminate the way in even the darkest conditions.
- Mounting Brackets: Durable brackets to secure your light bar firmly in place.
- Wiring Harness: A complete wiring harness with relay, fuse, and switch for a seamless electrical setup.
- Installation Manual: Detailed instructions to guide you through each step of the process.
- Hardware Kit: Screws, bolts, nuts, and washers ensuring everything you need for mounting is at your fingertips.
Check each item off the list as you lay them out; these are the essential ingredients for your project. Everything you need is thoughtfully packed to ensure you’re off to a shining start.
Preliminary Setup Before Installation
- Read the Manual: Begin by thoroughly reading the installation manual. This not only helps understand the process but also prevents any installation missteps.
- Inspect the Wiring Harness: Examine the wiring harness, making sure all the components are present and in good condition.
- Gather Additional Tools: While your kit includes the main components, ensure you have all the necessary tools like wrenches, a drill, and electrical tape on hand.
- Plan the Layout: Before you attach anything permanently, decide on the light bar’s position and how the wiring will run. This visual plan will save time during the actual installation.
- Check the Electrical Connection: It’s a good practice to test the light bar with your vehicle’s battery to make sure it’s operational before going through the installation process.
By following these preliminary steps, you will prepare yourself for a smoother installation experience. Each step is crucial to not only ensure that all parts are present and in working order, but also to familiarize yourself with the installation process.
Navigating The Nilight Light Bar Wiring Diagram
When it comes to enhancing your vehicle’s lighting, the Nilight light bar stands out with its robust design and superior illumination. However, installing this powerful accessory involves precise electrical work. To ensure a bright and safe journey ahead, navigating the Nilight light bar wiring diagram is the crucial first step. For beginners and seasoned enthusiasts alike, understanding this wiring diagram is essential for a successful installation. With the right guidance, tools, and safety measures, you can light up the night with confidence.
Understanding The Schematic Of The Wiring Diagram
The wiring diagram for the Nilight light bar serves as a roadmap for electrical connections. It shows how wires are interconnected and can also indicate the relative position of the components they connect. Here’s what you need to know:
- Power Source: Identify the battery or direct current (DC) source from where the light bar draws power.
- Relay: A critical component that controls the high power to the light bar, operated by a low-power switch.
- Switch: This allows you to operate the light bar and should be easily accessible from the driver’s seat.
- Ground Connection: Look for the symbol that indicates the ground wire, ensuring the system is safely earthed.
- Fuse: It safeguards the light bar by breaking the circuit during an electrical surge or short circuit.
Annotate the important components and their connections to simplify the installation process. Clear understanding is vital before progressing to the actual wiring.
Tools Required For Wiring Installation
- Wire Strippers
- Crimping Tool
- Screwdrivers (Phillips and flat-head)
- Electrical Tape
- Heat Shrink Tubing or Connectors
- Wiring Kit (if not provided with the light bar)
- A Multimeter (for electrical tests)
Before beginning, ensure you have all the necessary tools at your disposal. Staying organized with the right tools can make the wiring process smooth and efficient.
Safety Precautions Before Starting The Wiring Process
Safety should never be compromised during any phase of the installation process. Adhering to these precautions will ensure a secure setup:
- Disconnect the power source or battery before starting to avoid electrical shocks.
- Wear protective equipment, such as gloves and safety glasses.
- Double-check the wiring diagram and all connections during each step.
- Ensure the vehicle is parked in a stable and secure position.
- Use the right gauge of wire as specified by Nilight to prevent overheating.
- Secure all wires and ensure they are not exposed to moving parts or excessive heat.
Strictly following these safety guidelines will help prevent accidents and safeguard your vehicle’s electrical system. With a meticulous approach, you’re ready to embark on the installation journey of the Nilight light bar.

Credit: www.nilight.com
Instructions For Wiring Your Light Bar
Installing a Nilight Light Bar on your vehicle can significantly improve visibility for night-time adventures or work tasks requiring strong illumination. To ensure that your light bar operates effectively and safely, it’s critical to wire it properly. By following a concise, easy-to-understand guide, even individuals with limited electrical knowledge can execute this task with confidence. Below, you’ll find structured steps and troubleshooting tips to guide you through the process.
Step-by-step Guide To Connect Wires Correctly
- Identify Your Wiring Kit: Confirm that the wiring kit includes a relay, inline fuse, switch, and more than enough wiring to reach from the battery to the light bar’s location.
- Disconnect the Battery: To prevent any electrical issues, disconnect the negative cable from the vehicle’s battery.
- Position the Light Bar: Mount the Nilight Light Bar to the preferred location, ensuring it is secure and properly aligned.
- Route the Wires: Plan the wiring route from the battery to the light bar, avoiding any hot or moving parts.
- Connect the Relay: Locate a suitable spot to position the relay, usually near the battery, and secure it.
- Wire to the Battery: Connect the red wire to the positive battery terminal and the black wire to the negative terminal or a clean ground connection on the vehicle’s frame.
- Relay to Light Bar: Extend the wire from the ‘output’ terminal of the relay to the light bar, ensuring a proper connection to the light’s corresponding wires.
- Switch Installation: Decide on the switch’s location within the vehicle’s cabin and route the switch wiring from the relay to this point.
- Final Connections: Connect the switch wires to their respective terminals, and ensure all connections are secure and insulated.
- Reconnect and Test: Reattach the vehicle’s battery cable and test the light bar function using the installed switch.
Troubleshooting Common Wiring Issues
- Light Bar Not Turning On: Verify all connections, especially at the battery and relay. Check the inline fuse for any potential blows and replace if necessary.
- Intermittent Functionality: Inspect for any loose connections at the switch, relay, or light bar. Ensure that all terminals are secure.
- Flickering Light: This typically indicates a poor ground connection. Reassess the ground wire connection to the vehicle’s frame and clean any contact points to ensure a solid connection.
- Light Turns Off After Switching On: This could be due to an excessive current draw. Confirm that your light bar’s power requirements do not exceed the relay and inline fuse rating.
By systematically following these steps and troubleshooting common hitches, you’ll efficiently wire your Nilight Light Bar and enjoy the reliable high-powered lighting it offers. Remember to routinely check your wiring for any wear or corrosion to maintain the light bar’s performance and safety.
Illuminating Your Ride With Nilight
When adventure calls, Nilight Light Bars heed the summons, enhancing your vehicle’s visibility and safety. These rugged and powerful lighting solutions cut through the darkest nights, guiding your way across off-road trails or illuminating your path during extreme weather. Tailoring your ride’s lighting systems with Nilight not only boosts its functionality but also adds a stylistic edge. Let’s walk through the steps after installation, focusing on testing, optimal adjustment, and maintenance to ensure that your Nilight embarks on a long and lustrous journey.
Testing The Light Bar Post-installation
Installing your new Nilight Light Bar signifies the start of enlightened travels. Yet, a critical step awaits: the post-installation test. First, ensure all connections are secure. Fire up the engine and activate the light bar using the switch provided. Check for consistent brightness across the entire bar and listen for any unusual sounds that could indicate electrical issues. If the light flickers or does not turn on, review the wiring diagram and double-check all connections.
Adjusting Light Positions For Optimal Illumination
Once your Nilight Light Bar gleams proudly atop your ride, adjusting it for maximum effectiveness is essential. To achieve optimal illumination, toggle the light angle to cast the beam where it provides the best visibility for your typical driving conditions. A wider angle can light up more of the roadside, while a focused beam penetrates further into the distance. Be conscious of local regulations to prevent dazzling other drivers.
Maintenance Tips For Your Nilight Light Bar
- Clean the Light Bar: Regular cleaning ensures clear visibility. Wipe the lens with a microfiber cloth and mild soap to avert scratches and build-up that can dim your light output.
- Check the Wiring: Inspect the wiring harness, connectors, and switches periodically for signs of wear, corrosion, or damage, and replace any compromised parts immediately.
- Monitor the Housing: Examine the light bar’s housing for cracks or damage which could allow moisture ingress. A waterproof sealant might be necessary for any fissures.
- LED Care: Nilight LEDs typically have a long lifespan. However, if you notice a reduction in brightness or individual LEDs failing, consult the manufacturer’s guidelines for replacement options.
Enhancing Road Visibility And Safety
The importance of clear visibility on the road cannot be overstated. Whether navigating through a stormy night or traversing a dusty and dimly-lit off-road trail, adequate lighting ensures not only your safety but also the safety of others. In this context, the Nilight Light Bar emerges as a beacon of brilliance, offering unparalleled illumination for various vehicles. Understanding the Nilight Light Bar wiring diagram is crucial for an optimal setup that enhances road visibility and safety.
Benefits Of Having A Well-lit Vehicle
Enlightening your journey with additional lights encompasses numerous advantages. A well-lit vehicle can:
- Improve Visibility: Brighten up dark paths and enhance the driver’s ability to see obstacles, animals, or any hazards on the road.
- Increase Reaction Time: More light allows for quicker response to potential dangers, reducing the risk of accidents.
- Alleviate Fatigue: Dim conditions often lead to eye strain and driver fatigue. Bright lights can alleviate this effect.
- Boost Confidence: A powerful light setup gives drivers the assurance to handle challenging driving conditions with ease.
Installing a Nilight Light Bar correctly, guided by its wiring diagram, ensures that each of these benefits contributes to a safer and more comfortable driving experience.
Legal Considerations For Using Light Bars On The Road
While the idea of a brilliantly lit path is appealing, it is essential to balance this with legal considerations. Light bars, including those from Nilight, are subject to particular regulations which vary by location. Key legal aspects to consider include:
| Legal Aspect | Description |
|---|---|
| Permission for Usage | Some regions may require a permit or have restrictions on the types of auxiliary lights you can use on the road. |
| Light Placement | The position of your light bar on your vehicle can be regulated, often with stipulations on the height and angle of installation. |
| Light Intensity | Laws may limit the brightness or intensity of light bars to prevent blinding oncoming traffic. |
| Color Restrictions | Certain colors such as blue or red are typically reserved for emergency vehicles and thus not permitted for public use. |
Acknowledging and adhering to these regulations is crucial. Consult local laws to ensure your Nilight Light Bar serves its purpose without legal issues. A proper understanding of the Nilight Light Bar wiring diagram is not just about the technical setup; it’s about integrating powerful illumination in a way that respects the law and the safety of all road users.
Frequently Asked Questions On Nilight Light Bar Wiring Diagram
Does A Nilight Light Bar Need A Relay?
Yes, using a relay with a Nilight light bar is advisable for safe and optimal operation. It helps prevent switch overload and potential electrical issues.
What Is White Wire In Nilight Wiring Harness?
The white wire in a Nilight wiring harness is the ground wire, essential for completing the electrical circuit.
Why Is My Nilight Light Bar Not Working?
Your Nilight light bar may not work due to a blown fuse, loose connections, faulty switch, damaged wiring, or a burned-out LED. Check these components carefully to diagnose and fix the issue.
Why Does My Light Bar Have 3 Wires?
Your light bar has 3 wires for connecting to power, ground, and switching between different modes or brightness levels.
Conclusion
Wrapping up our guide to Nilight Light Bar Wiring, we hope you’ve found clarity and confidence for your DIY project. Remember to always prioritize safety and refer to this diagram for a hassle-free installation. Happy trails and radiant journeys lie ahead with your newly installed light bar!


