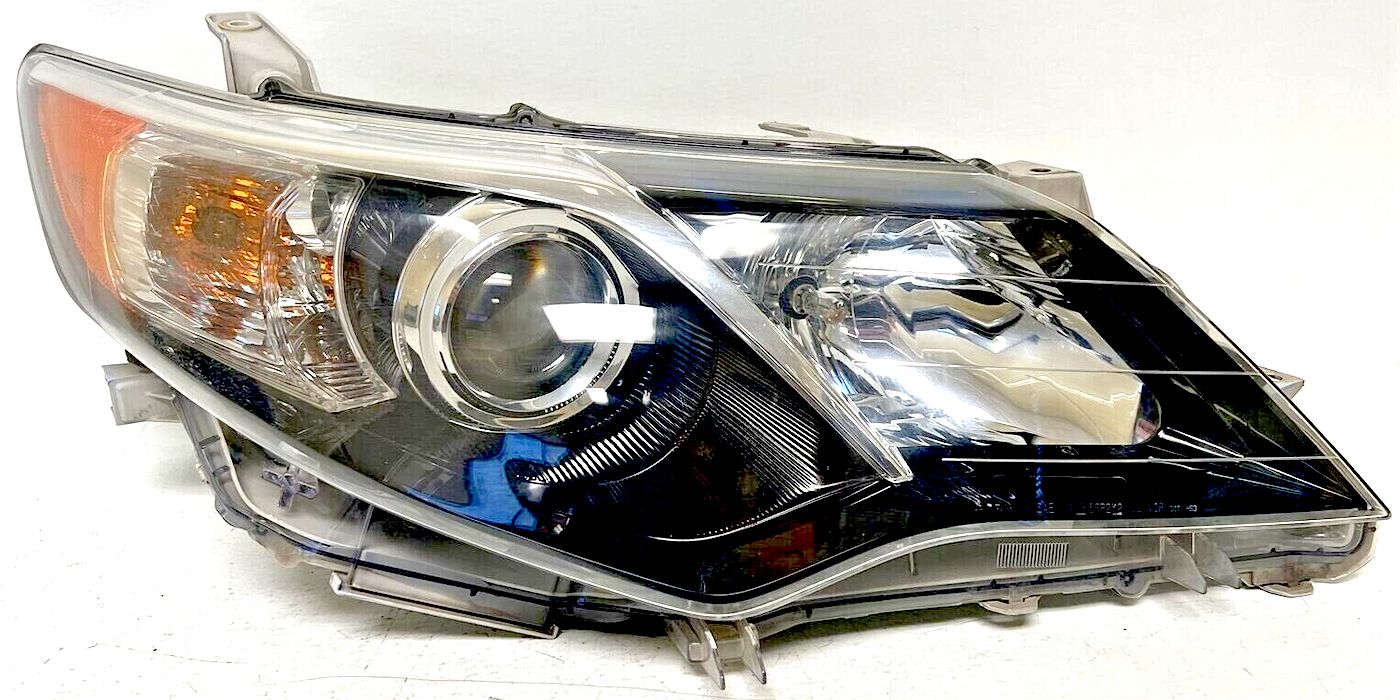
To replace headlight lenses, start by locating and removing the headlight lens housing mounting bolts. Some bolts may be hard to access and require going under the car.
Once the bolts are removed, you can replace the plastic lens, which is typically glued onto the headlight assembly with butyl rope adhesive. It’s important to choose the correct cover to fit your vehicle and properly align it with the headlight.
Installing the new cover is quick and easy, as is removing the old one. Remember to color sand, cut, and buff the damaged plastic before applying a sealant to properly restore your headlights. AutoZone can provide the necessary parts, tools, and guidance for replacing headlights. Headlight Lens Replacement: A Comprehensive Guide Replacing headlight lenses is a necessary task for vehicle owners when the lenses become damaged, hazy, or worn out. In this guide, we will walk you through the step-by-step process of replacing headlight lenses in a clear and concise manner. We will cover essential topics such as removing the lens housing mounting bolts, replacing the plastic lens, choosing the correct headlight cover, and restoring the headlights. To ensure long-lasting effectiveness, we will also discuss the importance of properly aligning the cover, color sanding, and applying a sealant. Whether you are a DIY enthusiast or simply looking to gain some knowledge about headlight lens replacement, this guide will provide you with all the information you need.
Preparation And Safety Measures
Before replacing the headlight lenses, it is important to gather the necessary tools and materials for the task. This ensures that you have everything you need at hand and prevents any unnecessary delays. Here’s a list of the essential items:
Gather The Necessary Tools And Materials For The Task
- Replacement headlight lenses
- Screwdriver
- Tape or adhesive remover
- Clean cloth
- Butyl rope adhesive
- Protective gloves
- Safety goggles
Once you have all the tools and materials ready, it’s crucial to prioritize safety. Protecting yourself from debris and chemicals is essential to prevent any potential injuries. Follow these safety measures:
Put On Safety Goggles And Gloves To Protect Yourself From Debris And Chemicals
The process of replacing headlight lenses involves removing the old ones, which may release debris or expose you to chemicals. By wearing safety goggles and gloves, you create a barrier between your eyes, skin, and any harmful substances that may be present.
Additionally, it is recommended to work in a well-ventilated area to minimize exposure to any potentially harmful fumes.
By prioritizing preparation and safety measures, you can ensure a smooth and safe headlight lens replacement process. By gathering the necessary tools and materials and protecting yourself with safety goggles and gloves, you’re ready to move on to the next steps of the headlight lens replacement process.
Removing The Headlight Lens
Are you tired of having dull and hazy headlights that affect your visibility on the road? It might be time to consider replacing your headlight lenses. In this section, we will guide you through the process of removing the headlight lens, step by step. Follow these instructions carefully to ensure a smooth and successful lens replacement.
Open The Hood And Locate The Mounting Bolts For The Headlight Lens Housing
Start by opening the hood of your vehicle. Once the hood is open, take a moment to familiarize yourself with the headlight lens housing. Look for the mounting bolts that secure the lens to the housing. These bolts may be located in different positions, so make sure to inspect all sides of the housing.
Remove Any Screws Or Clips Securing The Lens To The Housing
Once you have located the mounting bolts, it’s time to remove any screws or clips that are securing the lens to the housing. Use a screwdriver or any appropriate tool to carefully detach these screws or clips. Take extra caution not to damage the lens or housing during this process.
Carefully Detach The Lens From The Housing, Keeping In Mind Any Hidden Or Hard-to-reach Bolts
Now that the screws or clips are removed, it’s time to detach the lens from the housing. Slowly and carefully, apply a gentle force to separate the lens from the housing. Be mindful of any hidden or hard-to-reach bolts that may still be holding the lens in place. Take your time to ensure that you don’t miss any of these bolts.
As you remove the lens, pay attention to its condition. If you notice any cracks or damage, this might be a good opportunity to replace the entire headlight assembly, including the lens. A damaged lens can affect the performance of your headlights and compromise your safety on the road.
Now that you know how to remove the headlight lens, you’re one step closer to achieving clear and bright headlights. Stay tuned for our next section, where we will guide you through the process of installing a new lens for your headlights.
Cleaning And Inspecting The Lens
Properly cleaning and inspecting the lens of your headlights is crucial to ensure optimal performance and visibility on the road. Over time, headlight lenses can become dull, hazy, or even cracked, which can affect the brightness of your headlights and compromise your safety. In this section, we will guide you through the steps to thoroughly clean the lens, check for any cracks or damage, and polish the lens to restore its clarity.
Thoroughly Clean The Lens Using A Mild Detergent And Water Solution
To start, gather a mild detergent, water, and a soft cloth. Mix a solution of mild detergent and water in a bucket. Dip the cloth into the solution and gently scrub the lens in circular motions. Make sure to cover the entire surface of the lens, including the edges. Rinse the lens with clean water and wipe it dry with a separate cloth. This cleaning process will remove dirt, grime, and any residues that may have built up on the lens.
Check For Any Cracks, Discoloration, Or Damage That May Need Repair Or Replacement
After cleaning the lens, carefully inspect it for any cracks, discoloration, or visible damage. Cracks or deep scratches can impair the effectiveness of your headlights and may require professional repair or replacement. Discoloration or yellowing of the lens can also affect the brightness of your headlights and may indicate the need for restoration or replacement. Make sure to inspect both the exterior and interior of the lens for any signs of damage.
Polish The Lens To Restore Its Clarity And Remove Any Haze
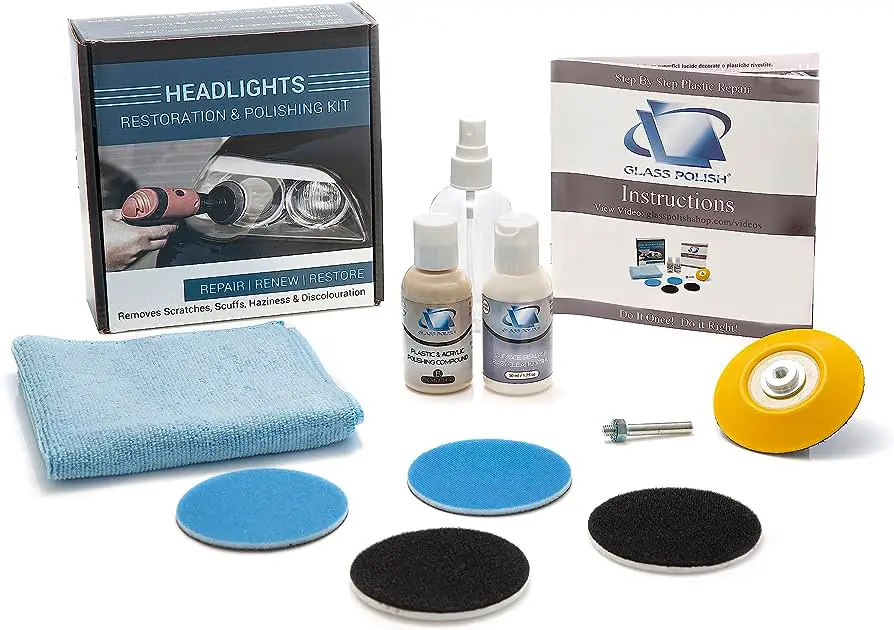
If you notice any haze or cloudiness on the lens, it can be polished to restore its clarity. You can use a specialized plastic lens polish or a lens restoration kit, which can be easily found at automotive stores. Apply a small amount of polish to a soft cloth and rub it onto the lens in gentle, circular motions. Continue polishing until the haze or cloudiness starts to fade away. Finally, wipe off any excess polish with a clean cloth, and your lens should appear clear and restored.
Regularly cleaning and inspecting your headlight lenses can help maintain their performance and extend their lifespan. It is recommended to repeat this process periodically or whenever you notice a decrease in headlight brightness or clarity. By taking proper care of your headlight lenses, you can ensure optimal visibility on the road and enhance your overall driving experience.

Credit: www.ebay.com
Installing The New Lens
To replace the headlight lenses, start by locating and removing the mounting bolts that secure the lens housing. Some bolts may be hidden and require access from underneath the car. Once the housing is removed, you can replace the plastic lens with a new one.
It’s a straightforward process that can be done with the right tools and instructions.
Position The New Lens Onto The Headlight Housing
To begin the process of installing the new headlight lens, carefully position the lens onto the headlight housing. Make sure that it is aligned properly and sits securely on the housing. Take your time to ensure a precise fit, as this is crucial for optimal performance and functionality of the headlight.
Secure The Lens With The Necessary Screws Or Clips
After positioning the lens correctly, it’s time to secure it in place. Depending on the specific make and model of your vehicle, you may need to use screws or clips. Check the manufacturer’s instructions or consult a professional if you are unsure about the specific fastening method for your vehicle.
If screws are required, carefully insert them into the designated holes on the lens and tighten them securely without over-tightening. Be sure to use the correct size and type of screw to avoid causing damage to the lens or housing. If clips are needed, ensure that each clip is properly aligned with its corresponding slot on the housing before firmly pressing it into place.
Ensure That The Lens Is Properly Aligned And Seated
After securing the lens, it’s crucial to double-check its alignment and seating. Ensure that all edges of the lens are flush against the headlight housing and there are no gaps or uneven areas. This will prevent any moisture or debris from entering the headlight and compromising its performance.
Take a step back and visually inspect the headlight from different angles to ensure that the lens looks even and symmetrical. If necessary, make any adjustments to achieve the desired alignment and seating.
By following these steps, you can confidently install the new headlight lens and enjoy improved visibility and safety on the road.
Final Steps And Tips
Now that you have successfully replaced the headlight lens, there are a few final steps and tips you should follow to ensure everything is properly connected and functioning. These steps will help you avoid any potential issues and ensure the longevity of your new headlight lens.
Reconnect Any Electrical Connections Or Wiring
Start by carefully reconnecting any electrical connections or wiring that you may have disconnected during the lens replacement process. This is an important step to ensure that your headlights are receiving power and functioning properly. Take your time to ensure that each connection is secure and properly aligned.
Test The Headlights To Ensure They Are Functioning Properly
Once you have reconnected all the electrical connections, it’s time to test your headlights. Turn on your vehicle’s ignition and switch on the headlights to check if they are working as they should. Make sure both the low beam and high beam settings are functioning correctly. If you notice any issues such as flickering lights or dim illumination, double-check the electrical connections, or consider consulting a professional if necessary.
Testing your headlights after replacing the lens is crucial to ensure your safety on the road, especially during nighttime driving. It’s better to identify and address any potential issues beforehand rather than discovering them during a crucial moment.
Repeat The Process For The Other Headlight
If you have successfully replaced the lens for one headlight, it’s important to repeat the entire process for the other headlight as well. Keeping both headlights in good working condition is essential for maintaining proper visibility while driving, as well as ensuring the overall aesthetics of your vehicle.
Follow the same steps you used for the first headlight, ensuring that the new lens is securely in place and all electrical connections are properly reconnected. Test both headlights once again to confirm they are functioning correctly.
By following these final steps and tips, you can confidently replace your headlight lenses and ensure they are functioning properly. Remember to always prioritize safety when working with your vehicle’s headlights and consult a professional if needed.
Frequently Asked Questions Of Replace Headlight Lenses
Can You Just Replace The Plastic Lens On A Headlight?
Yes, you can replace just the plastic lens on a headlight. The plastic lenses on modern headlight assemblies are typically glued on with butyl rope adhesive. You can find replacement lens covers from various online retailers such as Amazon, Parts Geek, and Advance Auto Parts.
The process involves locating and removing the mounting bolts for the headlight lens housing, which may be accessed from under the car. Once the bolts are removed, you can replace the old lens with the new one.
Can I Replace My Headlight Covers?
Yes, you can replace your headlight covers. Simply search for instructions on how to replace the covers on platforms like YouTube or Quora. You can also find replacement covers on websites like Amazon, Advance Auto Parts, Parts Geek, or AutoZone.
Ensure that you choose the correct cover for your vehicle and follow the instructions for proper installation.
Can Headlight Lenses Be Restored?
Yes, headlight lenses can be restored. The proper way to restore headlights is by color sanding to remove damaged plastic, followed by cut and color buffing. Applying a sealant, such as car wax, is the final step in the restoration process.
Does Autozone Replace Headlights?
Yes, AutoZone can replace headlights. They provide parts, tools, and guidance on how to change your vehicle’s headlights. You can also find qualified mechanics in your area through AutoZone. The time and cost of replacing a headlight may vary.
Conclusion
To replace your headlight lenses, first, locate and remove the headlight lens housing mounting bolts, some of which may be difficult to access. Next, remove the plastic lenses, which are typically glued on with butyl rope adhesive. Once removed, you can either clean them or replace them with new ones.
Additionally, you can restore your headlights by color sanding to remove damaged plastic, followed by cut and color buffing. Apply a sealant, such as car wax, for long-lasting results. AutoZone can provide you with the necessary parts and tools, along with helpful advice.
Remember, it’s a simple process that can be done efficiently.


