

Credit: Amazon.com
Foggy headlights can obstruct your view and make your vehicle look worn out. Fortunately, removing fog from headlights is a straightforward process. Whether you’re dealing with oxidation or a dull appearance, this guide will help you restore your headlights to their original clarity.
1. Introduction
Foggy headlights are a common issue due to exposure to sunlight, moisture, and road debris. This fogging can reduce the effectiveness of your headlights and compromise safety. This guide will show you how to clear up foggy headlights using various methods.
2. Tools and Materials Needed
Before starting, gather the following tools and materials:
- Microfiber cloths
- Headlight restoration kit (if using)
- Cleaning solutions (commercial or homemade)
- Sandpaper (for severe cases)
- Masking tape
Optional:
- UV sealant
- Headlight polish
3. Safety Precautions
Credit: Amazon.com
Vehicle Safety: Park your vehicle on a flat surface and engage the parking brake. Ensure the engine is off and the headlights are cool to the touch.
Personal Safety: Wear gloves and protective eyewear, especially when using sanding products or commercial cleaners.
4. Preparation
Preparing the Vehicle and Workspace:
- Clean the area around the headlights to prevent debris from scratching the lens.
- Ensure you have adequate ventilation if using strong chemicals.
Cleaning the Area Around the Headlights: Wipe the headlights with a clean, damp cloth to remove any loose dirt and grime.
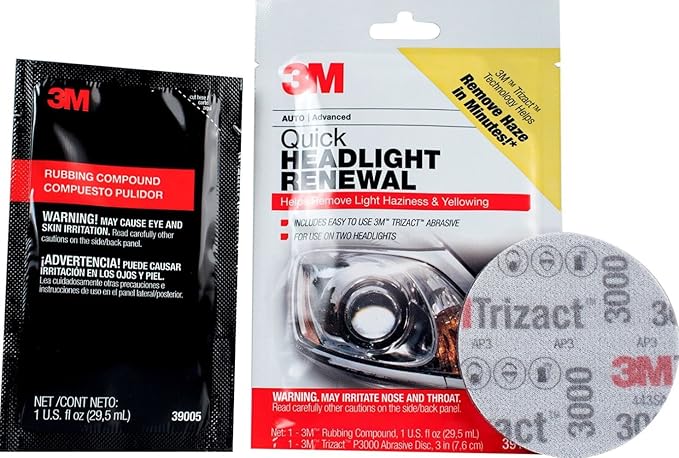
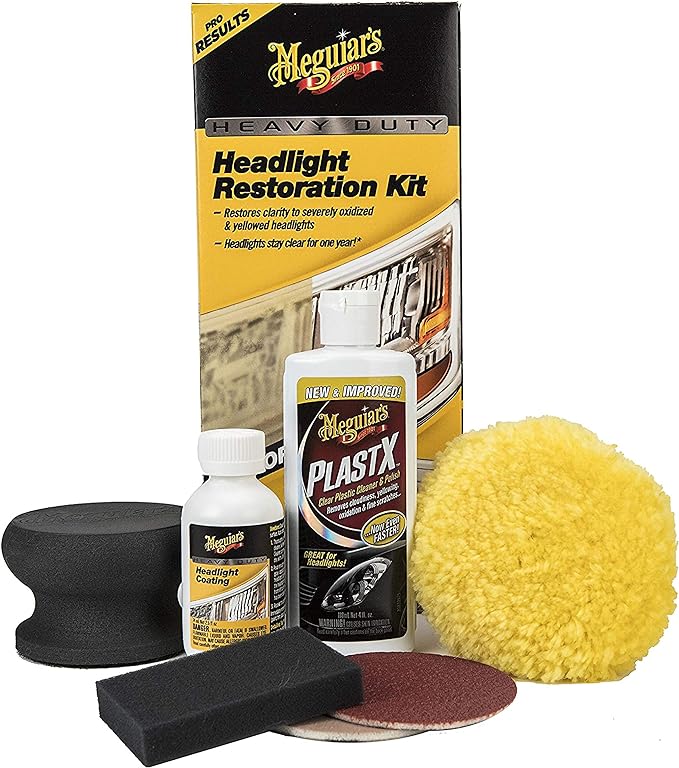
5. Method 1: Using Headlight Restoration Kits
Credit: Amazon.com
Steps to Use a Restoration Kit:
- Clean the Headlights: Follow the kit’s instructions to clean the headlight surface.
- Apply the Sanding Solution: If the kit includes sandpaper, use it to sand the headlight lens in a circular motion, starting with the coarsest grit and moving to finer grits.
- Apply the Polishing Compound: Use the provided polishing compound to buff the headlight, removing any remaining haze.
- Seal the Headlight: Apply the UV sealant included in the kit to protect the headlight from future fogging.
Tips for Best Results: Follow the kit’s instructions carefully and ensure you work in a shaded area to avoid premature drying of products.
6. Method 2: DIY Cleaning Solutions
Homemade Cleaning Solutions:
- Baking Soda and Vinegar: Mix baking soda and vinegar to create a paste. Apply it to the headlight and scrub with a microfiber cloth.
- Toothpaste: Use non-gel toothpaste with a bit of baking soda. Apply it to the headlight and scrub in a circular motion.
Application and Cleaning Process:
- Apply the cleaning solution to the headlight lens.
- Use a microfiber cloth or a sponge to scrub the surface in a circular motion.
- Rinse the headlight with water and dry with a clean cloth.
7. Method 3: Using Commercial Products

Credit: Amazon.com
Types of Commercial Headlight Cleaners:
- Spray-On Cleaners: These are easy to use and require only spraying and wiping.
- Wipes: Pre-moistened wipes are convenient for quick cleaning.
Application Instructions:
- Apply the commercial cleaner according to the manufacturer’s instructions.
- Wipe the headlight with a clean, dry cloth to remove the cleaner and any remaining fog.
8. Rinsing and Drying
Proper Rinsing Techniques: After cleaning, rinse the headlights thoroughly with water to remove any residue from the cleaning products.
Drying the Headlights: Use a clean, dry microfiber cloth to dry the headlights. Ensure they are completely dry before driving.
9. Inspecting the Results
Checking for Residual Fogging: Inspect the headlights to ensure all fogging has been removed. If necessary, repeat the cleaning process.
Reapplying Treatments if Necessary: If fog persists, consider using a more intensive treatment or seeking professional help.
10. Preventative Measures
Tips to Prevent Future Fogging:
- Apply a UV Sealant: This helps protect the headlights from future oxidation and fogging.
- Regular Cleaning: Clean your headlights regularly to prevent buildup.
- Cover Headlights: Use headlight covers or apply a protective film to shield them from environmental damage.
Maintenance Recommendations: Regularly check the condition of your headlights and address any issues promptly to maintain optimal visibility.
11. Conclusion
Removing fog from headlights improves visibility and enhances the appearance of your vehicle. By using the methods outlined in this guide, you can restore your headlights to a clear and effective state, ensuring safer driving.
12. FAQs
1. How often should I clean my headlights?
- It’s a good idea to clean your headlights every few months or as needed, depending on environmental conditions.
2. Can I use abrasive cleaners on my headlights?
- Avoid using abrasive cleaners or scrubbing too hard, as this can scratch the headlight lens. Stick to recommended cleaning methods.
3. What if my headlights are severely fogged?
- For severe fogging, use a headlight restoration kit or seek professional help to ensure a thorough cleaning.
4. How can I prevent my headlights from fogging again?
- Apply a UV sealant and keep your headlights clean to prevent future fogging.
5. Are there any professional services for headlight restoration?
- Yes, many auto detailing shops offer professional headlight restoration services if you prefer a more thorough approach.


