

Wiring the 4 High Beam Headlight Mod on your 1988-1998 Chevy truck or SUV is a straightforward process that can greatly enhance your nighttime driving visibility. This mod allows both the low and high beams to be on simultaneously when you activate your high beams. Here’s a step-by-step guide to help you wire this mod effectively.
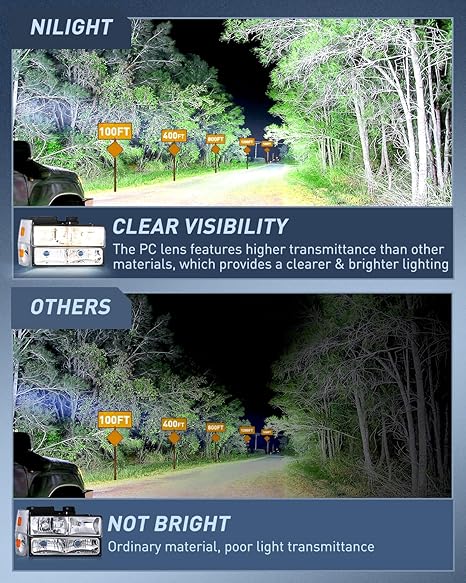
Credit: Amazon.com
Tools and Parts You’ll Need
Before you start, make sure you have the following items:
- 12V automotive relay (4-pin or 5-pin)
- Relay socket or pigtail
- 16-18 gauge electrical wire
- Inline fuse holder with a 15-20 amp fuse
- Wire connectors (butt connectors, spade connectors, T-tap connectors)
- Wire strippers and cutters
- Crimping tool
- Electrical tape or heat shrink tubing
- Zip ties
- Test light or multimeter
- Screwdrivers and basic hand tools
Step 1: Safety First
- Disconnect the Battery: Always start by disconnecting the negative terminal of the battery to prevent any accidental short circuits or shocks while working on the vehicle’s electrical system.
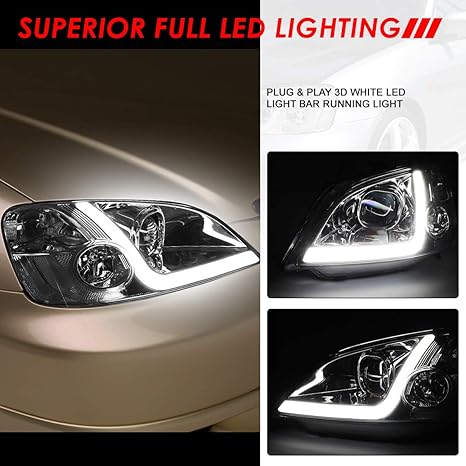
Credit: Amazon.com
Step 2: Access the Headlight Wiring
- Locate the Headlight Harness: Open the hood and locate the wiring harness behind the headlights. You may need to remove some trim or the headlight assembly to access the wires.
- Identify the Wires: Using a wiring diagram (often found in the service manual), identify the wires for the low beams and high beams. Typically, these wires will be color-coded (e.g., the low beam wire might be green, and the high beam wire might be yellow).
Step 3: Install the Relay
- Mount the Relay: Choose a suitable location in the engine bay to mount the relay, preferably close to the headlight wiring harness. Ensure it’s secure and protected from heat and moisture.
- Wire the Relay:
- Connect the Low Beam Wire to the Relay’s Coil (Pin 85):
- Use a T-tap connector to splice into the low beam wire.
- Connect this wire to pin 85 on the relay.
- Connect the High Beam Wire to the Relay’s Coil (Pin 86):
- Use a T-tap connector to splice into the high beam wire.
- Connect this wire to pin 86 on the relay.
- Connect the Power Source (Pin 30) to the Battery:
- Run a wire from pin 30 on the relay to the positive terminal of the battery.
- Install an inline fuse (15-20 amps) on this wire to protect the circuit.
- Connect the Relay’s Output (Pin 87) to the Low Beam Wire:
- Run a wire from pin 87 on the relay to the low beam wire input on the headlight. This ensures that the low beams remain powered when the high beams are activated.
- Ground the Relay (Pin 85):
- Connect pin 85 to a solid metal part of the truck’s chassis to complete the circuit.
- Connect the Low Beam Wire to the Relay’s Coil (Pin 85):
Step 4: Test the Wiring
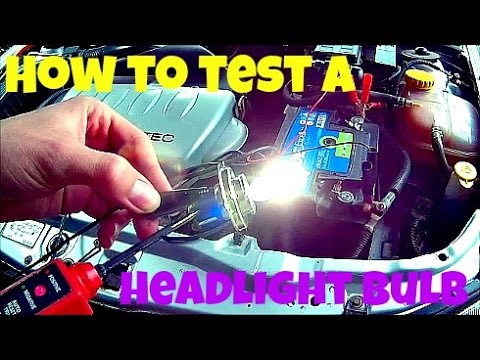
Credit: Google.com
- Reconnect the Battery: After all connections are made, reconnect the negative battery terminal.
- Test the Headlights: Turn on your headlights and switch between low and high beams. Both the low and high beams should remain on when the high beams are activated.
- Use a Test Light or Multimeter: Verify that the relay is functioning correctly by checking the voltage at the relay terminals. Ensure that there is power when expected and that the circuit is complete.
Step 5: Secure and Protect the Wiring
- Secure the Wires: Use zip ties to neatly secure all wires, keeping them away from any moving parts, sharp edges, or hot engine components.
- Insulate the Connections: Wrap all your connections with electrical tape or use heat shrink tubing to protect them from moisture and prevent any short circuits.
- Reassemble Any Removed Components: Replace the headlight assembly or trim that you removed to access the wiring.
Step 6: Final Adjustments and Safety Checks
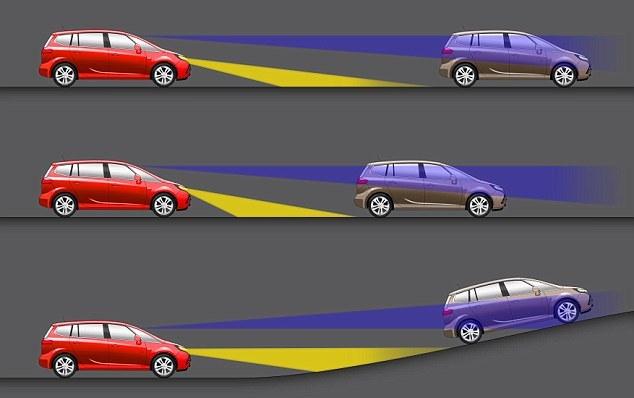
Credit: Google.com
- Check Headlight Alignment: After completing the mod, check the alignment of your headlights. Ensure they are correctly aimed to provide the best visibility without blinding oncoming traffic.
- Review Local Regulations: Verify that this modification complies with local headlight laws and regulations. In some regions, driving with all four beams on might be considered too bright for oncoming traffic, so you should be aware of the rules in your area.
Conclusion
Wiring the 4 High Beam Headlight Mod on a 1988-1998 Chevy truck or SUV is a relatively simple project that can significantly enhance your nighttime driving experience. By following these steps carefully and ensuring all connections are secure and properly insulated, you’ll have a more powerful and effective headlight system. This mod not only improves visibility but also adds a unique touch to your vehicle’s lighting configuration.


